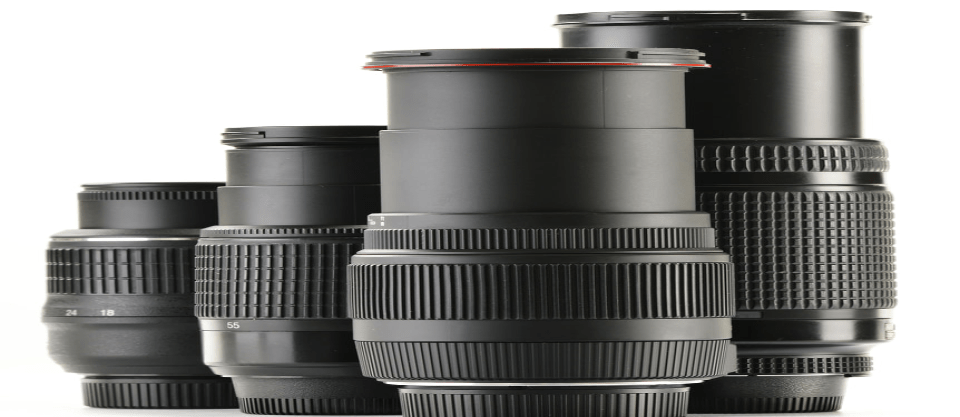
In photography, a DSLR does only half the job of capturing an image. The bigger half of the task is done by it’s better half, the lens.
A camera is just a recording device that helps to click pictures and record them on a memory card. The sharpness of an image, the depth of field, the amount of light the camera is able to capture at a set shutter speed and ISO is all done by the lens.
When buying a camera lens, or any other electronic devices for that matter, technical knowledge about a product will help you analyze it better. So here’s a lens buying guide to help you out.
Specifications of a lens
Here are a few things that you must know before you buy a lens:
- Learn about lenses and their specifications.
- Learn about the lens mount type of your camera.
- Ask yourself, what kind of photography would you like to use the lens for.
Unless you fully understand how a lens functions and what is its role in capturing an image, you will most probably end up buying a lens that doesn’t fit your needs and ultimately, feel bad about your investment. So let’s take a short lesson about camera lenses and understand the technicalities behind it.
Suggestive Reading: 10 Mistakes New Photographers Make And How To Avoid Them
Aperture
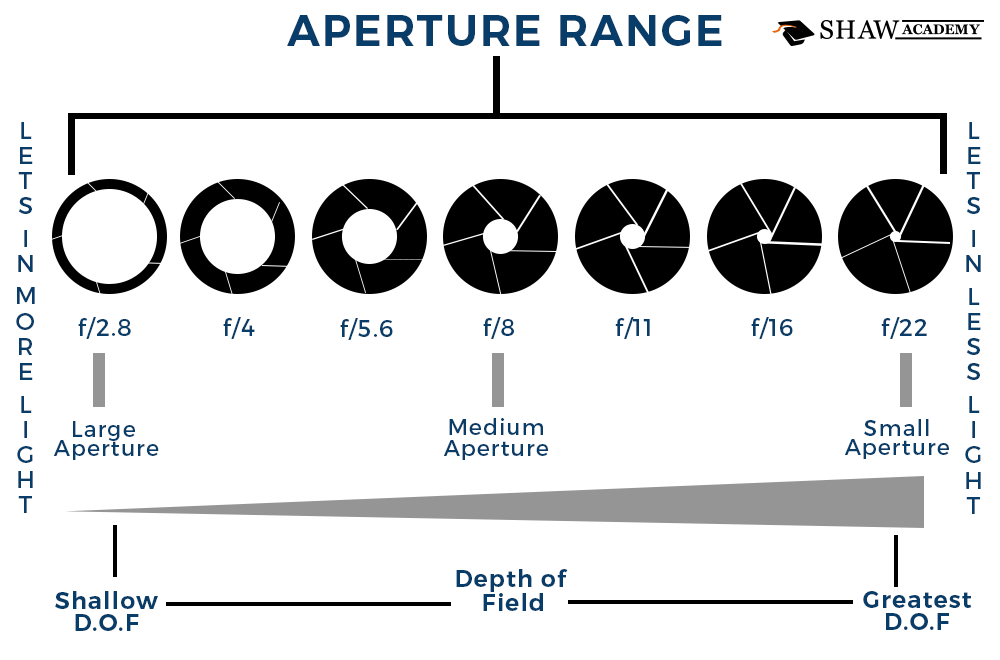
Aperture is the opening in the lens through which the light enters the camera (technically it’s the size of the lens diaphragm, but let’s not complicate too much). The aperture of a camera is responsible for two things in the resultant image, the amount of light and the amount of depth of field.
- The more a lens is able to open its aperture, the more light the camera will be able to capture and the lesser depth of field (only the subject is in focus, everything else appears blur or shallow).
- The lesser a lens opens its aperture, the lesser the light the camera will capture however, this will give you more depth of field (the subject, the background and foreground are all in focus).
Measuring lens aperture
The scale of measuring aperture is a little tricky. However, the more you keep shooting, the sooner you should get a hang of it.
Aperture size is measured in f-numbers or f-stops. It is either represented as fstop or f/stop. You can see that the aperture sizes shown in the above image are reducing as you move from left to right. However, the f numbers that measure the opening of the aperture are increasing at the same time. This is what you need to remember while measuring aperture sizes. The larger the aperture, the smaller the f number or f stop. The smaller the aperture the larger the f number or f stop.
So, let’s say a lens reads Nikkor 55-200mm f/4-5.6G. So, f4-5.6G indicates the lens can maintain a maximum aperture size of f/4 at 55mm and f/5.6 at 200mm.
Focal length
Focal length is the distance between the lens and the image sensor. The more the distance, the more the extent to which the lens will be able to zoom. So, Nikkor 55-200mm f/4-5.6G says that this particular lens has focal length that can be adjusted between 55mm and 200 mm. At 200 mm you should be able to achieve a focus of 2.5X.
Lens mount type
There are various types of lens manufacturers and lens types. Each has its own method of manufacturing. Also, depending on the model, the lens mount of your DSLR varies from manufacturer to manufacturer. Hence, it’s important to know the lens mount type of your camera and the lens format of the lens you are buying.
The user manual of your camera will definitely contain this information. Go through your manual to determine your camera’s lens mount type.
Analysis
Okay, time to put what we have learnt to use. To begin with, let’s take the example of these two lenses. What we will do here is get a hang of analyzing what these lenses are and what they are capable of. It is up to you to understand what kind of photography you would like to do and which kind of lens will suit your needs.


Suggestive Reading: Prime Lens Vs. Zoom Lens: Which One Is Best?
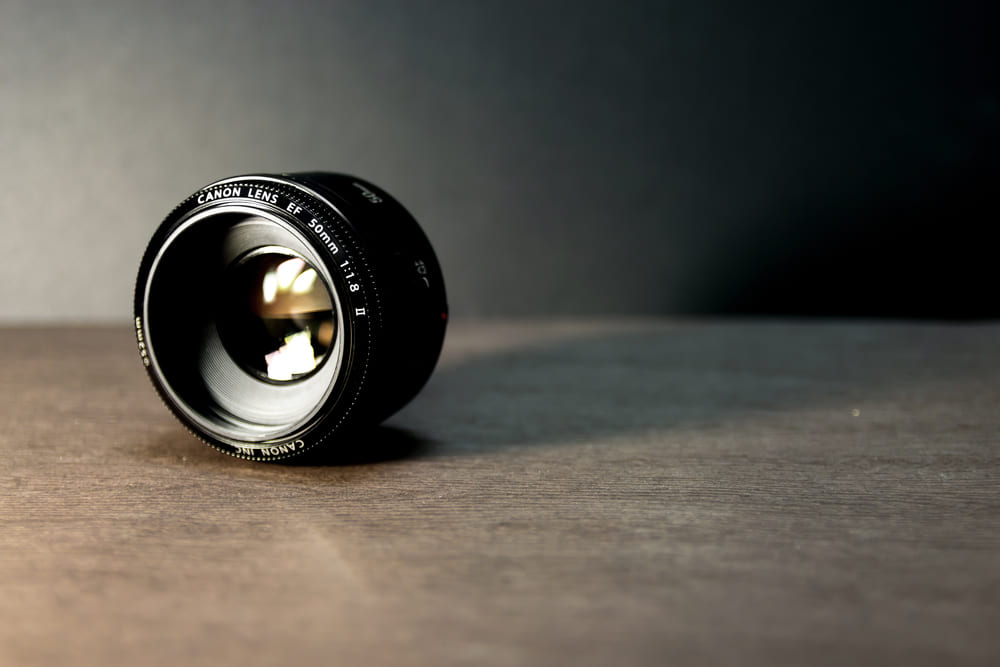
First one up is Nikon AF-S FX NIKKOR 50mm f/1.8G Lens with Auto Focus for Nikon DSLR Cameras. Let’s break this down and understand what it means.
I am sure you already know what Nikon and Nikkor are so let’s just get them out of the way.
- 50mm: Focal length of the lens. Since only one focal length has been mentioned, its understood that this is a prime lens and has a fixed focal length.
- f/1.8G: The max aperture size to which the lens can open up at 50mm aperture.
- AF-S: This indicates that the focusing is done by a silent wave motor. This kind of focusing is faster than the regular AF focus.
- FX: It’s the lens mount type. It has to be matched to the lens mount of your camera. Check lens formats properly before buying. Check twice if you have to.
Next, it’s Nikon AF-S DX NIKKOR 18-55mm f/3.5-5.6G ED II Zoom Lens with Auto Focus for Nikon DSLR Cameras.
- 18-55mm: Focal length range. Unlike our previous example, since a range of focal length is given, we understand that this is a zoom-able lens.
- f/3.5-5.6G: Maximum aperture size when zooming at 18mm focal length and 55mm focal length, respectively.
- VR II: Vibration Reduction 2. An advanced version of its predecessor, VR.
- AF-S: Single wave auto focus
- DX: lens mount type.
Understanding the scenario
Scenario 1: Portraits
So, I wanted to take a nice portrait shot of my colleague. What I do is I fix the 18-55mm lens and take a picture. This is what I get.

Not too shabby. It’s a nice shot, one might think. But I am concerned about the background. It’s very distracting and it’s taking my focus away from her.
So, I think “I need to avoid the background” and then it hits me, “I can blur it away.” So this time I strap on my 50mm nikkor prime and what do I get?

The background isn’t bothering me anymore. It’s blurred and has little or no details there. Therefore, my eyes only go towards the subject in the picture, towards the face, which is the prime aspect of a portrait.
Unless there is a significant background and you want to include that as well in your pictures, shallow DOF works good with portraits. So, in this particular scenario my 50mm prime outperforms the 18-55mm.
Scenario 2: Landscape
Now, let’s say I want to take a landscape shot. If I use my 50mm prime here…

Nothing. It’s just a bunch of windows.
So, this time, I use my 18-55mm. I set the focal length way back to 18mm, compose my scene to shoot and see what I get.

A magnificent aerial landscape shot of this colourful building. In this case, my 18-55mm outperforms my 50mm prime.
Factors to Consider
Now that we are technically sound enough to analyze a lens from its specifications, it’s time to finalize which lens to go for.
The four main things that you need to consider (starting with highest important factor) before you buy a lens are aperture, focal length, lens mount type and finally, vibration reduction and auto focus.
- Aperture: A lens that has max aperture size of f/2.8 will allow more light at faster shutter speeds than a lens with max aperture of f/4. So if you are shooting in a low light situation where you are not able to shoot below the shutter speed of 1/125 secs because you are hand holding a camera, a f/2.8 lens will allow more light than f/4 lens so you can crank up the shutter speed for sharper images.
- Focal Length: There are lenses that go up to 300mm, 400mm, 500mm even a whooping 1000mm. But do not forget to take a note of the max aperture size because it tends to reduce as the focal length increases.
- Lens Mount type: Don’t forget to check this little spec because if you get this wrong, you will basically end up having a lens that you can’t even fix on your camera. Check the lens mount specification and check the lens mount type of your camera using your camera’s manual and match the right lens type.
- AF and VR: Last but definitely not the least, autofocus and Vibration Reduction are nifty little functions which will give you an added edge to your photography. Autofocus will assist you in quickly focusing your subjects and the Vibration Reduction will give you the much-needed stabilization to avoid shutter blur while shooting hand-held at long zoom ranges.
For your viewing pleasure
I just did the basic raw adjustments to fix some highlights and shadows here and there in my previous pictures. I took the processing of these images all the way to completion, just for your viewing pleasure.

Just a little vignette around the edges helps you bring a little more focus on your subject’s portrait. Besides, vignette is my favourite. I tend to add it in a lot of my pictures. I shot this picture at 1/250 secs, f/2.2 and ISO 400.

A little bit of adjustment in the dark contrast slider of Nik Colour efex and dash of vignette on the edges. I wanted to bring an HDR like feel to this one. I shot it at 1/200 secs, f/5.6 and ISO 400.
Suggestive Reading: How To Use Manual Focus (And Still Get Sharp Images)
Looking to sharpen your photography skills? Join our top-rated professional photography course today!


