You’ve stumbled on an amazing scene. You pull out your camera and snap a few pictures to capture that beauty, however when you open those images on the computer, the magic is gone. The scene that took your breath away in person is lackluster in pixels. Why? How do the pros capture landscape images that are just as stunning as being there in the person? Capturing beautiful scenes isn’t simple, but with a few landscape photography tips and tricks, you can help bring some of that view home with you.
Wait for the right light

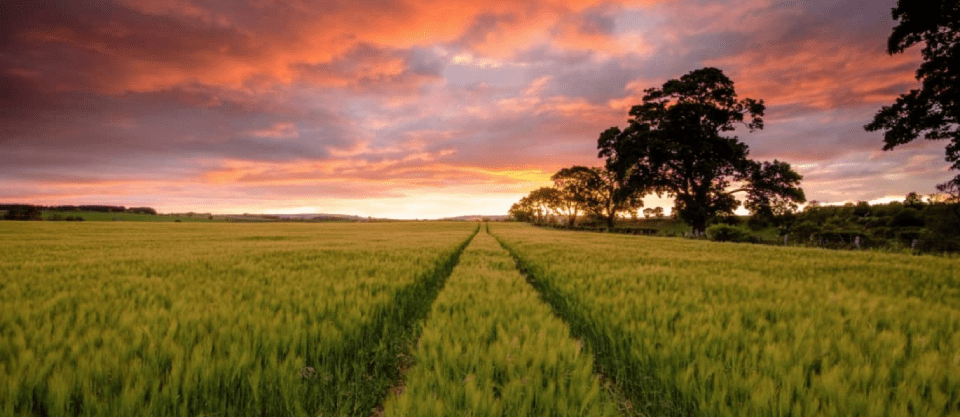
The human eye has the ability to adjust to different levels of light, to read an entire scene even with lots of contrast. The camera isn’t as capable. While there are ways to fight tough light, the easiest option that also gets the best results is to simply wait for the right light. A bright sunny day creates lots of contrast in a scene, with very bright highlights and very dark shadows. Early in the morning and late in the afternoon will have less contrast and a beautiful warm glow. If the weather is cloudy, you don’t necessarily have to wait to the end of the day, since the clouds filter out the sunlight for soft, even light.
Use a tripod
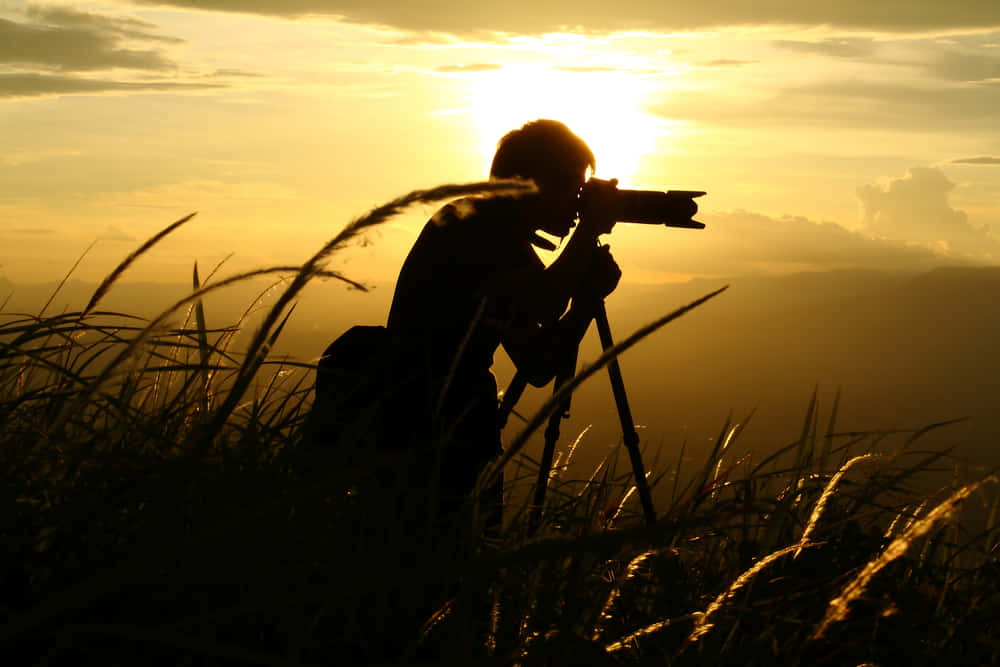
** **A tripod is useful for getting sharp shots—and that’s a big deal in landscape photography. A good tripod will eliminate camera shake for sharper shots than you can snap handheld, even at faster shutter speeds. Many amazing landscape images are the result of longer shutter speeds to blur waves and clouds, and a tripod isn’t an optional accessory in those scenarios. Opt for a sturdy tripod that’s lightweight for carrying out to all those spectacular scenes.
Also you can read : How to create a learning management system
Decide on where to place the horizon

** **Many beginners simply point the camera at the part of the scene that inspires them the most. While there’s certainly nothing wrong with photographing what inspires you, make your composition a little more deliberate. Instead of just shooting, think about where to place the horizon in the frame, instead of automatically putting it dead center. What’s the most interesting part of the scene? If it’s the landscape, try putting the horizon on the upper third. If it’s the sky, try placing the horizon on the lower third to capture more of the sky in the shot.
Add a filter
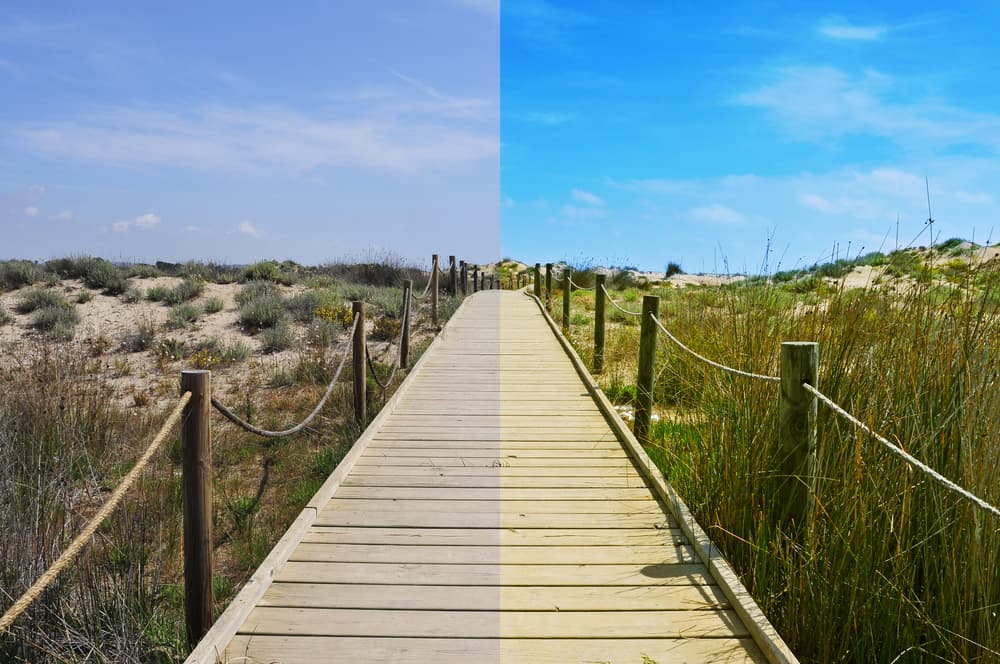
Don’t shoot naked—adding a lens filter to your camera makes a big difference, particularly in landscape photography. Filters are inexpensive accessories that make a huge difference in landscape photos. A polarizing filter will allow you to control just how blue the sky appears. A graduated neutral density filter will prevent you from overexposing the sky, keeping all the details intact instead of blowing a beautiful sky out to a white blob. Regular neutral density filters will allow you to take long exposures without overexposing images, even during the day.
Shoot RAW
Switching to RAW is a simple change inside the image quality options in your camera menu. However simple, it makes a big difference. RAW files give you more flexibility in the editing process, and makes a dramatic difference in your final shot. Inside the RAW editor, you can use a graduated digital filter or brush adjustments over just part of the photo. RAW files are larger, but that’s because they give you more data to work with in the editing process.
**Try a long exposure
**
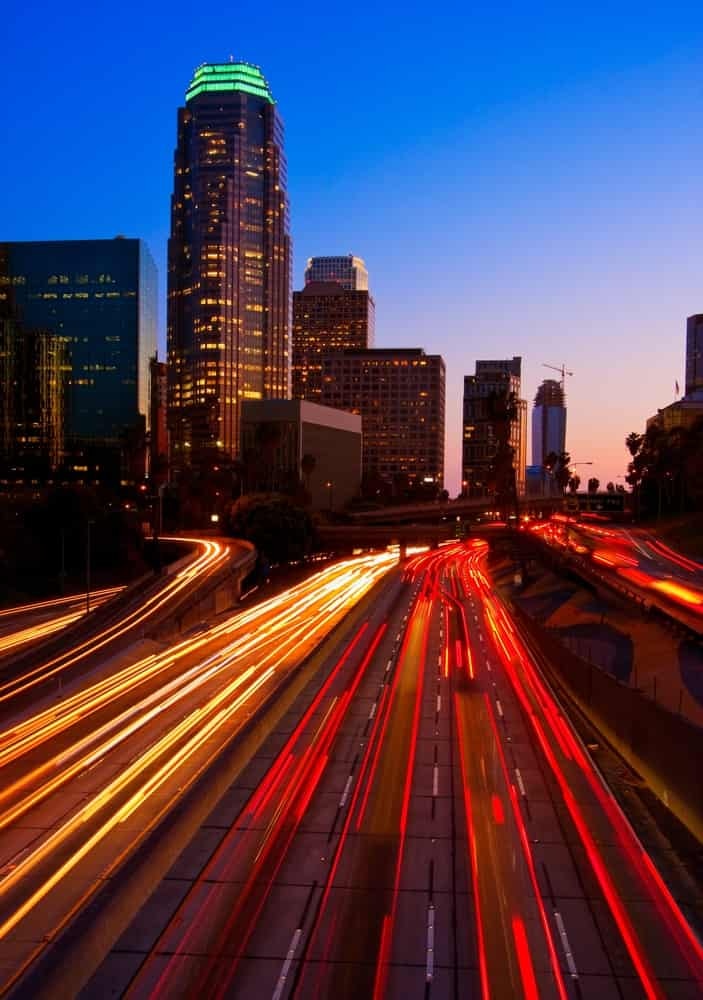
Using a long shutter speed is a great way to capture many landscape scenes. With a long shutter speed, the waves will turn to a smooth white and moving clouds will turn wispy. Long exposures create a sense of motion, even in a still scene, and it’s a very effective tool for landscapes. To shoot a long exposure, set your camera up on a tripod. Use shutter priority mode or manual mode to choose a longer shutter speed. Just how long will depend on your subject; if you are unsure, start with a 30 second exposure. If your image is too bright, you’ll need to add a neutral density filter.
Focus 1/3 of the way up the frame
** **Getting a sharp landscape shot involves using a narrow aperture and a tripod—but the focusing method matters too. If there isn’t one specific object that’s your subject, but rather the entire scene, use single point autofocus or manual focus and focus on a point that’s 1/3 of the way up the frame. That, combined with a narrow aperture, will help keep your scene sharp. Once you surpass the beginner’s level, dig into the concept of hyperfocal distance.
Try a vertical orientation
** **Most landscapes photograph well with a horizontal orientation—after all, it is also called a landscape orientation. But vertical shots can work well too, especially in scenes where you want to include more of the foreground. Don’t automatically shoot horizontally—put some thought into it, and at least consider the vertical option too.
Landscapes create beautiful images, but there are a few tips and tricks to capturing the scenes beauty. Wait for the right light. Invest in a good tripod and the right filters. Don’t automatically place the horizon in the center or automatically shoot with a horizontal orientation, but put some thought into why you are composing the image the way you are. Try focusing on a point 1/3 of the way up the frame, and look for scenes that work well with long exposures. Shoot in RAW, and then you’ll have more flexibility in post processing.
Looking to sharpen your photography skills? Join our top-rated professional photography classes today!


