There are few styles of photography as popular with professionals and amateurs as landscape photography. Whether you’re attempting to capture the majestic sweep of the mountains or a sandy expanse of beach and pristine water, landscapes are beautiful and evocative. While they might seem like the simplest things to capture, landscapes can actually be very challenging. The following tips will help you learn how to take great landscape photos no matter where you are, or what time of day you’re shooting.
1. What Makes a Good Landscape Photo?
The most important tip is learning what makes the best landscape photo. There’s no one answer here; different techniques can allow you to turn almost any view, whether mountains, beach, plains or cityscape into a stunning landscape. However, you do need to ensure that you’re starting with the right equipment. Avoid the urge to spend a lot of money on a top of the line camera and then attach a less than ideal lens. In the world of photography, the lens is more important than the camera. By the best camera you can afford, and then add in a high-quality lens that will get the job done right.
2. Speaking of Lenses…
When it comes to the best landscape photography, you’ll find that not all lens types are created equal. Eschew that basic option and instead choose a wide-angle lens. These are the industry standard for landscape photography, whether you’re capturing natural scenes, the urban jungle, or something else entirely. Wide-angle lenses show a much wider field of view, allowing you to come closer to capturing what your eye sees and giving a sense of wide-open space. You’ll also find that wide-angle lenses capture more light, allowing you to use faster shutter speeds while still creating the right depth of field.
3. Depth of Field
When it comes to what makes a good landscape photo, one of the techniques you’ll need to master is depth of field. To do this, you’ll need to keep all the elements of the scene in focus (you don’t want to focus on something in the foreground and create a blurred background, as this would reduce the depth). Set your aperture somewhere between f/16 and f/22 to keep both the foreground and the background sharp and focused. As a note, a tripod may be necessary here, as smaller apertures reduce the amount of light and make vibrations/shaking more visible in your photos. A tripod eliminates the resulting blur.
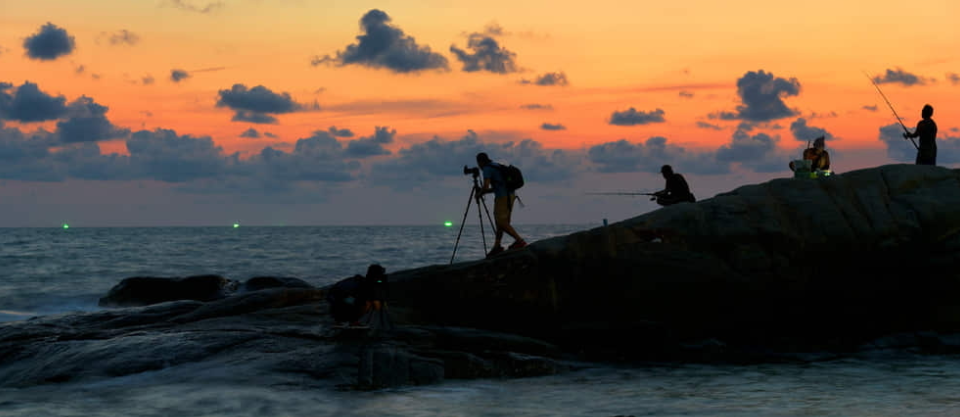
4. Find the Right Time of Day
One of the best landscape photography ideas for taking great pictures is to ensure that you’re photographing the landscape at the right time of day. Different light levels (and qualities) bring out different elements in the world around you. Would those mountains take on a different character at dusk? Would that lake scene be better photographed in the gentle light of a summer morning, with mist softening the photo? Most photographers find that early morning and late afternoon are the best times of day for capturing evocative landscapes. However, that rule doesn’t hold true at all times. Find the best time of day for your scene.
5. The Rule of Thirds
The rule of thirds is all about composition. If you’re just starting out with landscape photography, try dividing your frame into imaginary thirds and then ensuring there’s something of visual interest at each point where those lines intersect. If you’re photographing a horizon, put it along one of the lines you’ve imagined in your frame. Imagine your lens divided by four lines, two running horizontal and two running vertical, creating a grid with nine squares. You’ll find that your pictures are even better if you can manage to get a near and far focus point in each of the corners of the diagonals.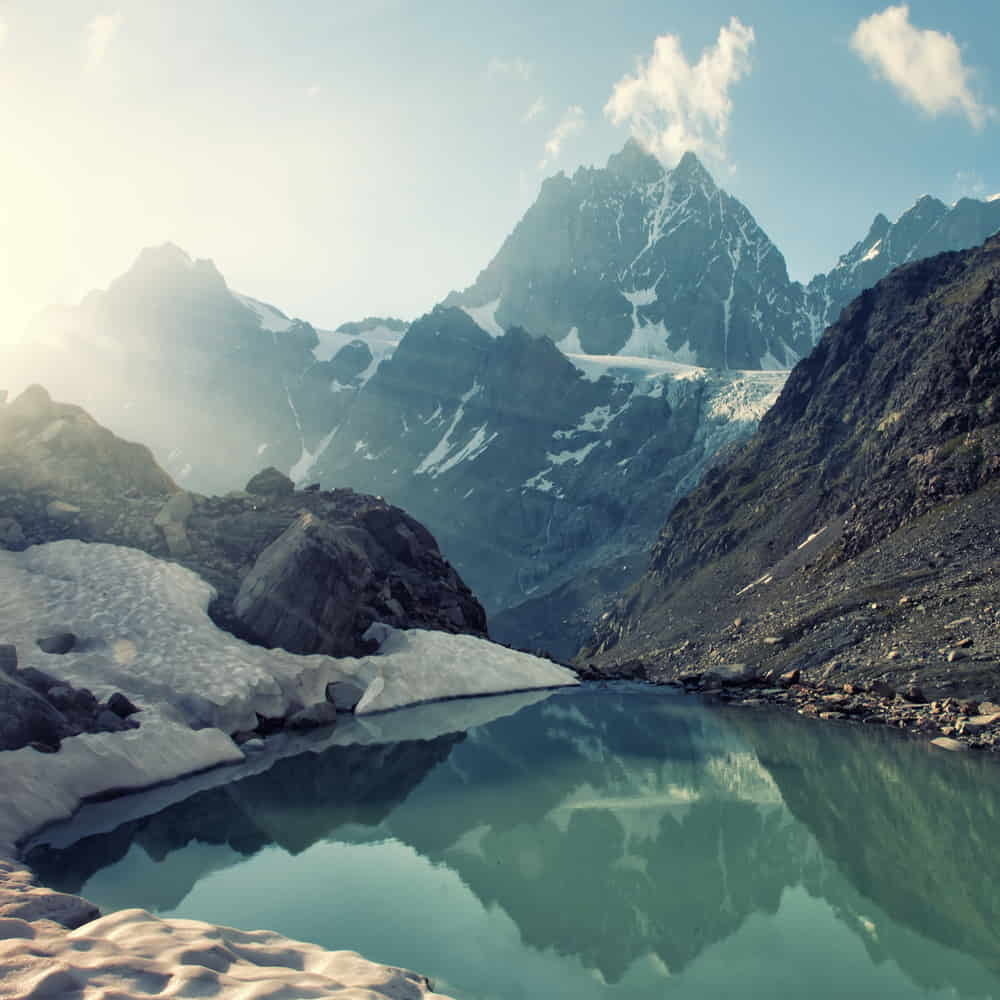
6. Use Water
Water is one of the most beneficial landscape photography elements. It can act as the focal point for your photo, certainly, but it can also help create unique visual effects. You’ll find that during the first hour after dawn and the first hour after sunset (the magic hours), bodies of water can be used to create unique reflections of the landscape around them, whether you’re photographing a mountain or a tree. Make sure you use a tripod, and set your mode to either TV or S. If you’re manually adjusting your ISO, start at ISO 125 (although you can also let the camera choose the right ISO if you prefer). Opt for a slow shutter speed to capture the most light.
7. Start with a Vision
Sure, there’s a lot to be said for snapping shots on the fly, but landscape photography rarely turns out well when done this way. If you really want to capture the most evocative images, you need to start with a plan, a vision of what the final photograph will show. What are you trying to capture? Does it include motion, such as running water? What is the scope you want for the image, and what emotion do you want to impart to viewers? Plan your photo. Envision what you want to capture and what you want to show others. Be prepared to visit a location multiple times to determine the right angle, the right time of day and even the right elements of the view to capture.
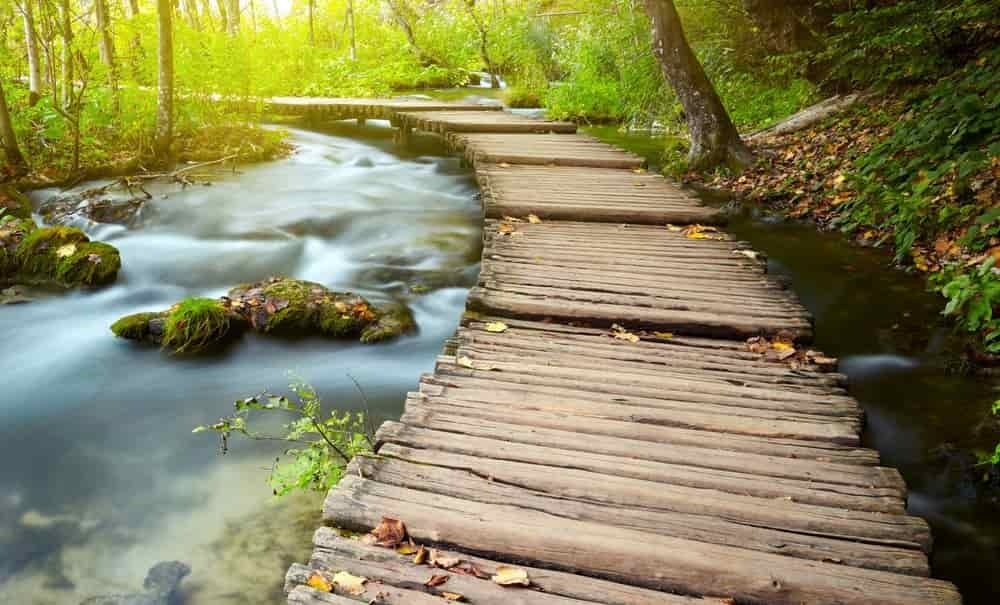
8. Use Moving Water
Water can do more than just act as a mirror, as mentioned previously. You can capture the motion of flowing water in a number of different ways. This will require some experimentation, but the best landscape photography is the result of time, patience and planning. Depending on how fast the water is flowing, you can set your shutter speed between 1/30th of a second and a full second. The 1/30th setting is best for faster flowing water, whereas a full second is ideal for slow-moving water. Make sure you’re using a tripod to eliminate camera shake, and start your experimentation at 1/15th of a second. Play around with the photo until you have the amount of blur you want in the water. Alternatively, you can opt for a smaller aperture (f/32) and AV on the mode dial. Experiment with exposures up to a couple of seconds to find the right look for your photo.
9. Filters
Filters are a photographer’s best friends in some situations. You’ll need to use two different types in landscape photography – polarizing filters and neutral density filters. The first type are used to darken the sky in your shot, making the blues stand out in contrast with clouds. The second are designed to block light, allowing nature landscape photography during the middle of the day, rather than forcing you to wait until one of the two “magic hours”. Both of these filters will be essential for your work, although polarizing filters are possibly the more useful of the two thanks to their ability to reduce glare and eliminate reflections in a scene, while simultaneously increasing color saturation and intensity.
10. Have the Right Equipment
We’ve mentioned the importance of a wide-angle lens, but there are other components you’ll need. Obviously, make sure you have a tripod (we’ve mentioned that one several times as well). In addition, you’ll want a lens hood if you’re shooting during the middle of the day (in bright light). A flash can be handy in shadowy areas, and a beanbag will help you experiment with different angles for the shot. Of course, you’ll also need a bag to carry your camera and lenses.
11. Experiment
Don’t limit your landscape photography to just the natural world. While sweeping vistas are visually stunning, you can accomplish the same thing in the human world. Experiment with different manmade elements at different times of day. You might try an abandoned railroad depot, a lighthouse, a rundown building, a farm, or something completely different. Capture the effects of humanity’s action with your lens. Get out there and experiment, viewing every scene with an eye to how it would be framed in the lens of your camera.
That is perhaps the most important tip for landscape photography. You can learn all the techniques you want, use a wide range of equipment, or take photos during the day or night, but if you’re not out there experimenting, you’ll never know just what you can achieve. Digital photography has made it easier than ever for you to hone your skills and explore the world around you. Now you just have to get out and do it.
Looking to sharpen your photography skills? Join our top-rated online photography course today!


