Photography is a way to capture what you see. But sometimes, capturing a certain scene feels impossible. Perhaps you’ve found yourself in this scenario: Those dynamic clouds should be included in the shot, but if you expose for the subject, all the detail in the sky is lost. And if you expose for the sky, the subject is a dark blob. Professional landscape photographers seem to have no trouble capturing the sky in a scene, so what gives?
What about those long exposure photos that appear to be shot in the middle of the day? You’ve tried them, and either ended up with an overexposed image or a shutter speed that wasn’t near slow enough. There must be something you’re missing, right?
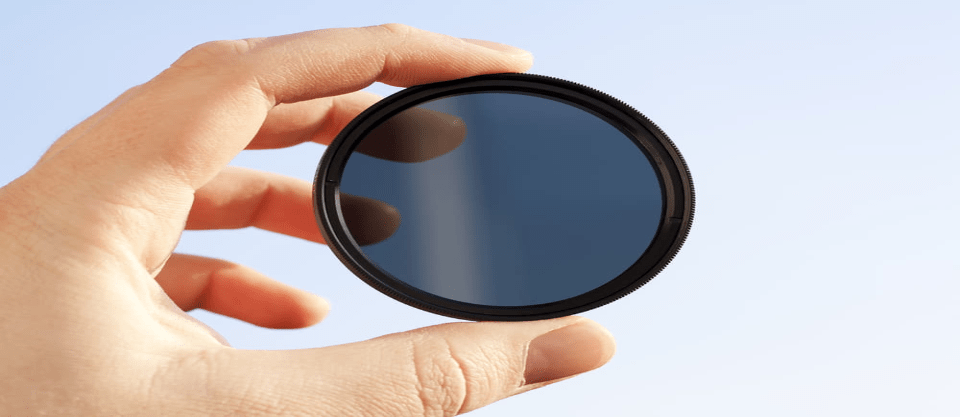
The solution? A neutral density filter.
Blocking out light may seem silly to any beginning photographer that’s ever shot indoors or at night, but there’s a few scenarios where there is such thing as too much light. A neutral density filter blocks out light to either help with an unevenly exposed scene or to allow for more flexibility at slow shutter speeds. Intrigued? Here is what you need to know, all packed into one neutral density filter guide.
 What is a neutral density filter?
Neutral density filters limit the amount of light coming into the lens. The filter only limits the amount of light. It doesn’t alter the color of the light or the sharpness, for example. If a scene is overexposed, you can use a faster shutter speed, a narrower aperture, or a higher ISO. But sometimes, you want to use a slower shutter speed to capture motion blur, or to use a wider aperture to get a shallow depth of field. Neutral density filters allow that flexibility.
Not all neutral density filters block out the same amount of light, however. The name of the neutral density filter indicates how many stops of light it blocks out.
The intensity of the filter is designated with the abbreviation ND and a number, like ND2. The process of figuring out the f/stop change is a bit complex, but there’s an easier way to remember it. Just imagine the number is the fraction of the light that’s actually getting through the filter. So, an ND2 becomes ½, or 50 percent. An ND2 filter cuts the amount of light coming in by a half. An ND4 cuts the light coming in by ¼—so only 25 percent of the light is getting through. For an ND8, just 1/8 of the light is getting through, or 12.5 percent.
How intense does your lens filter need to be? That varies based on the situation. Shots in the middle of the day will require a denser filter, while shots towards the end of the day don’t need so much light reduction. Shots requiring a very long shutter speed will need a neutral density filter with a higher number than shots with a shorter shutter speed.
So, a neutral density filter limits the amount of light coming in. How much light is getting through is designated by the ND number, so photographers can choose a filter that offers the right amount of light reduction for their shot. Since you might not know what you need until you’re setting up the shot, neutral density filters are often sold in sets.
 What is a graduated neutral density filter?
So, a neutral density filter solves the problem of the daytime time lapse image that was overexposed. But what about the overexposed sky?
A graduated neutral density filter only has the light-blocking effect on about half the filter, gradually getting lighter until the other half doesn’t have any of the light blocking effect at all. Place the darker half of the filter over the sky, and you can avoid overexposing the sky, keeping all those details intact.
Just like a full neutral density filter, graduated filters have different levels. The numbering works the same way. A raduated ND2 will cut down on the light that’s coming through by 50 percent, though the clear portion of the filter won’t have any light reduction at all.
Graduated neutral density filters, however, have one more subcategory; hard and soft. A hard graduated neutral density filter makes the transition from the clear to the dark portion of the filter very quickly. The effect is more abrupt in the images. The hard graduated neutral density filters work well when the place where the exposure difference occurs is also abrupt, like the horizon. A soft filter, on the other hand, changes from clear to dark much more gradually, so the effect isn’t so abrupt. These filters are better for using when the location of the exposure difference isn’t a straight line, like a skyline filled with tall buildings instead of a smooth horizon.
Graduated neutral density filters are key to keeping the details in a bright sky without underexposing the subject. Of course, they can be used to remedy other uneven lighting scenarios, but using them on the skyline is the most common.
 Neutral Density Filters: Square or circle?
Both neutral density filters and graduated neutral density filters come in two types: circular filters that screw into the lens, and square filters that require a holder to keep them in place. So which one’s the best option?
The circle filters are easier to use. You just twist it onto the end of your lens and you’re ready to go. Since there’s no filter holder required, they are also typically the cheaper option. Some thread-mounted filters are also variable, which means that you can rotate the front of the filter to darken or lighten the filter, typically between two and eight stops. That means fewer filters to buy, and also fewer to carry around in your bag.
There’s quite a few reasons the circle filters don’t always work the best, however. Layering multiple circular neutral density filters together (to get even more light reduction) will result in vignetting on the edges. If you have multiple lens sizes, you’ll also need a circular filter to fit each thread size. And for the graduated neutral density filters, you’re limited to keeping the horizon at the halfway point, because that’s where the filter effect begins.
On a square (or sometimes rectangular) graduated filter, you can pull the filter up or down to adjust where the effect begins, so you don’t always need to place the horizon midway through the image. You can, for example, let the sky take up 2/3 of the image while still using the graduated filter effect. But even the full neutral density (not just the graduated) filters have some perks in the square version. Most filter holders will adapt to different lenses, so you don’t need to buy a new one for each thread size. Square filters can also be layered without the vignetting that occurs when layering multiple circle filters together.
The downside is that the square filters are typically more expensive. The filter holder is also one more thing to carry around, while the circular options take up less space in your camera bag.
What neutral density filter should I buy?
Just like cameras and lenses, there are enough neutral density filters on the market to be downright confusing. So which ones are best?
Most photographers will enjoy using the square filters with a holder, because they are more versatile, especially for graduated neutral density filters. They can also be stacked. But the circular mounts are less expensive, and there’s less to carry around without the holder; plus there’s less of a difference with the regular neutral density filters over the graduated option.
Filter kits are often excellent options because they provide a good range, with multiple levels of darkness included. They are also often cheaper than buying each piece separately. Though for some purposes, the kits have more gear than you may need.
If you buy a single piece at a time, what strength should you start with? An ND2 doesn’t have much of an affect at all, though may come in handy for widening the aperture just a bit for the softer background. ND8 is a good option for smoothing out fast moving water, like a river or waterfall, while ND64 is better for slowing out slower moving water, like a lake or ocean. To blur the motion of the clouds, often a much heavier effect is needed, like an ND1000.
Brands like B+W, Lee and Hoya all have a reputation for well-made products. If you’re shooting professionally or do a lot of landscape work, it’s best to save up for a high quality neutral density filter.
Tiffen is a good brand that’s more budget friendly. There’s also plenty of budget filter kits from off brands. These budget kits aren’t as well made and there can even be some light image degradation, so be sure to read the reviews first. If you’re just looking to experiment with using neutral density filters, or you just take pictures for pleasure, it’s certainly fine to pick up a budget set. Just keep in mind it probably won’t last as long and be on the lookout for any reduction in sharpness.
Neutral density filters provide solutions to photographs that are beyond what adjusting ISO, shutter speed, and aperture can tackle. They’re required for many daylight long exposures and can also be helpful for shallow depth of fields. Graduated neutral density filters enable photographers to capture an entire scene without blowing out the sky. Filters can mean the difference between getting the shot and not, so they’re an essential piece of gear for many.
Looking to sharpen your photography skills? Join our top-rated professional photography classes today!


