Macro photography makes tiny things feel big and important, but when photographing tiny things, you can potentially run into a lot of big problems. Getting in close means camera shake is more obvious. Focus must be dead on. The slightest breeze can introduce even more blur. But, you can overcome these challenges and get big shots of little things by incorporating a few macro photography tips. Here’s what beginners need to know to snap great macro photos.
Use a tripod.
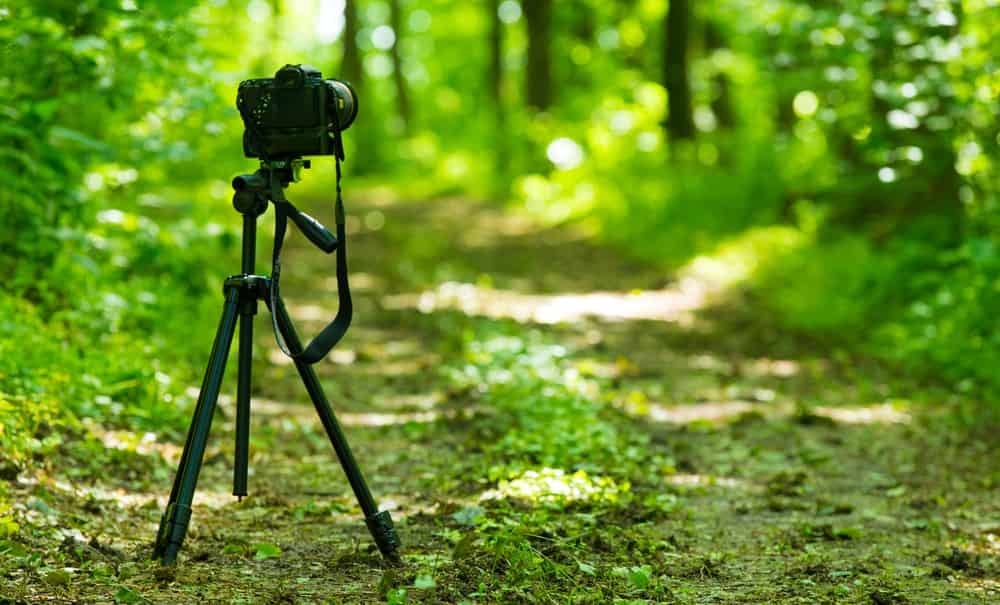 Magnifying a subject also magnifies camera shake. If you can, use a tripod. Look for a tripod that has a short height minimum, so you can get down close to things like flowers and a bug on a blade of grass. Alternatively, you can also pick up a tabletop tripod. These are often cheaper and more portable, you simply can’t use them at your eye level for other types of photos.
If you can’t use a tripod, steady your camera the best that you can. Often, propping both elbows up and supporting the camera with both hands helps. You’ll need a faster shutter speed when shooting macro handheld.
Check your background.
To really draw attention to your subject, check your background. Busy backgrounds are distracting; simple backgrounds work best for macro photography. Look for different angles that have a simpler background in them. If you’re shooting plant life, you can often use one hand to move the flower a bit more to a better background. Just make sure you’re not destructive.
If you can’t find a simple backdrop, one technique is to use a flash to underexpose the background, leaving you with black behind your subject. This works for subjects that don’t have other objects close by or the flash will light up those objects too. Turn your flash on and use spot metering. This also works better if the subject is in the sun and the background is shaded.
Be aperture aware.
 The closer you are to the subject, the deeper your depth of field will be. That means you’ll get soft, out-of-focus backgrounds even without a wide open aperture. But that also means it’s tricky to get the focus just right. Shoot wide open and up close, and only a very small portion of the image will be in focus. Use the depth of field preview button to ensure you get what you want in focus. You’ll need a narrow aperture to get an entire bug in focus instead of just part of it, for example.
Can you use wide apertures for macro photography? Sure, and you can use narrow ones too. Wide apertures in macro photography are helpful for eliminating distracting backgrounds, while narrow ones help keep the subject in focus. Of course, you can (and should) find a happy medium too.
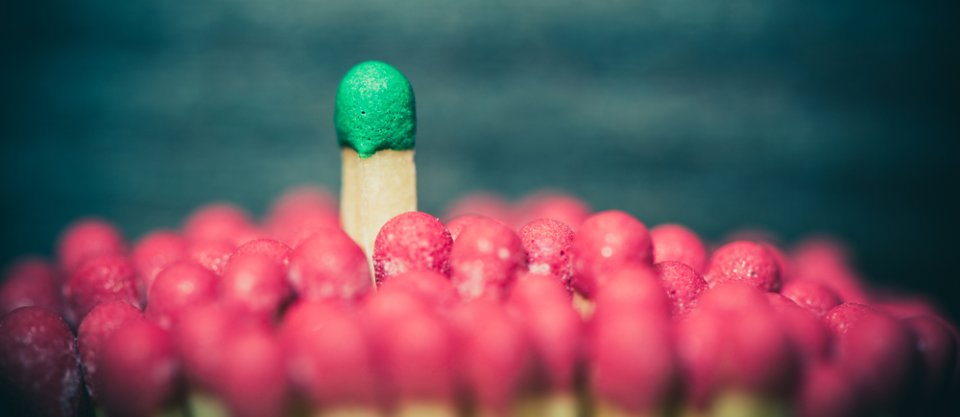
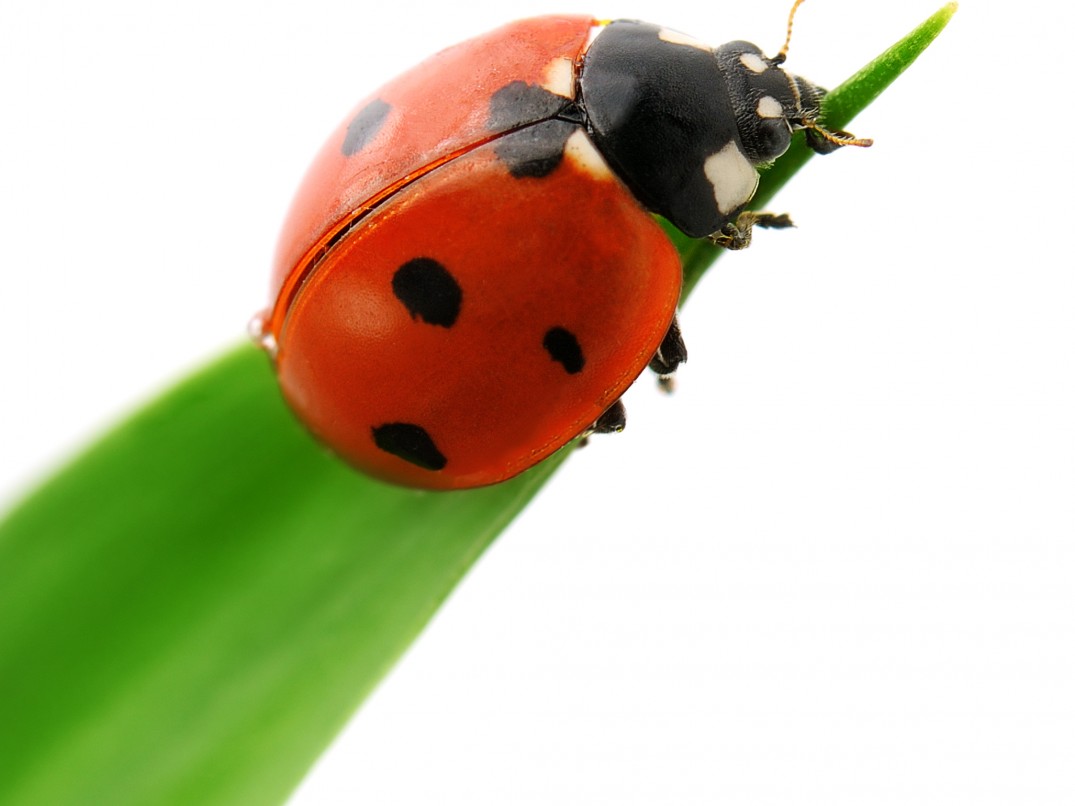
Look for patterns.
Macro photography makes us notice things that we may not otherwise pay attention to. Using pattern is an excellent way to highlight that. The repeating shape on a mushroom, for example, makes a good pattern. Look for patterns that break too, like three blades of grass and one with a ladybug on it.
Pattern is also an excellent way to embrace abstract photography. Getting in close on something that’s full of pattern is a great way to create an abstract image. Just because the camera captures just what we can see doesn’t mean you can’t take a close-up that makes people wonder, what is that?
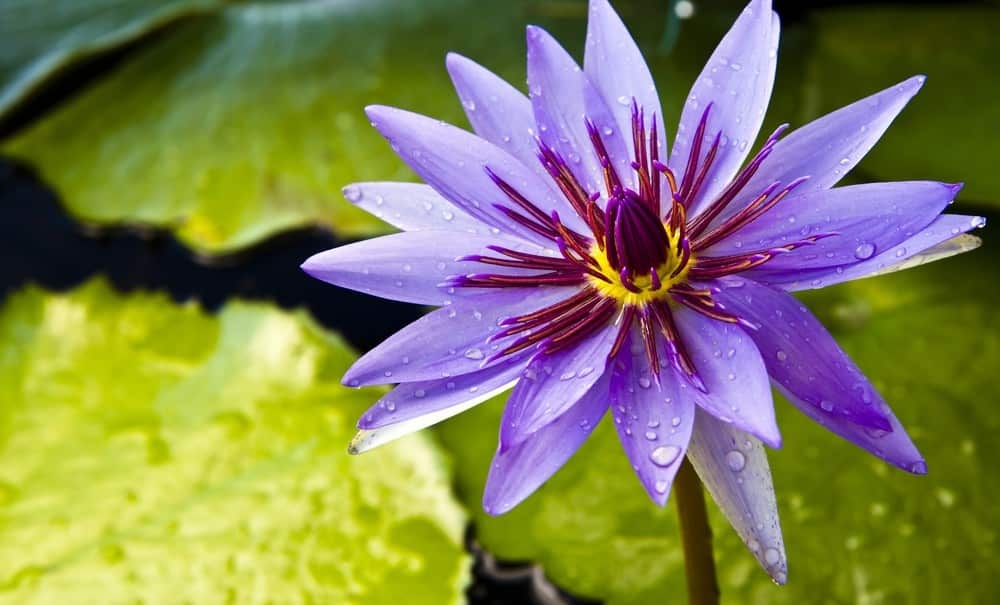
Embrace color.
 Getting in close is also a good way to highlight colors you may not have noticed before. Consider color as you make your composition. Are there any distracting colors in the shot? Are there any colors that pop and immediately draw the eye? Try using that pop of color as your focal point, and adjust your perspective to eliminate distracting colors.
Blues and greens in macro photography tend to work best as background colors, while brighter colors like yellows and reds really make a subject pop.
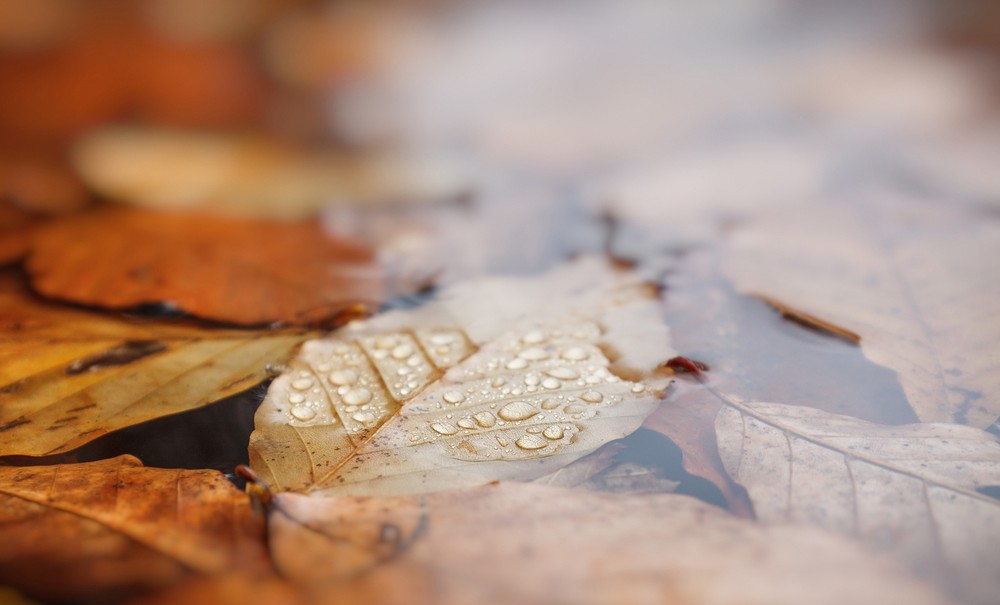
Watch out for wind and embrace the rain.
 Something as simple as the weather can make or break a macro shot. Wind is a big deal in macro photography. When you’re shooting a wide angle landscape, you often don’t notice the wind moving through the branches. Get up close to a single leaf, and even a slight breeze will introduce motion blur. Try to shoot on a day that’s relatively calm. Mornings and evenings provide the best light, and that’s often when the insects are easiest to shoot too.
Where wind can ruin a shot, rain can make it. Try heading out just after the rain, when everything is still wet. Rain drops add detail and interest to many macro shots. Water droplets also have a magnifying effect, which looks pretty neat with a macro subject.
Consider your focal point carefully.
Because you are in so close, you’re probably working with a pretty shallow depth of field, or a limited portion of the image that’s in focus. Often, this is even true when using narrow apertures, since the distance between the subject and the camera plays a role in depth of field too. Because of that limited focal range, you may not be able to get your entire subject in focus. Sometimes, this can be a neat effect—like focusing on just the eyes of the bug or having the focus fade off the edges of a flower.
If you want to keep the entire subject in focus, you may need to adjust your composition. Why? Remember that focus is about distance. Everything that distance from the camera will be in focus while objects closer or further won’t be in focus. If you face a bug head-on, his head may be in focus while his back legs won’t. But place the bug parallel to you, and the entire insect is the same distance from the camera, making it easy to get the entire subject in focus.
Experiment with single point and continuous autofocus.
With such a deep depth of field, nailing the focus becomes much harder to do. When you are shooting macro, you’re often so close to the subject that tiny camera movements will put the subject out of focus. To combat this, use continuous autofocus, even if your subject isn’t mobile. Continuous autofocus continues to adjust the focus, so those tiny camera movements will be accounted for.
You should also use single point autofocus for macro photography. Single point allows you to pick precisely where you want to place the focus, so there’s a better chance you’ll get not only a sharp shot, but one that’s sharp exactly where you want it.
For the smallest subjects, try manual focus.
 In some cases though, autofocus doesn’t work well for macro photography. Manual focus is often best when shooting subjects that are 1:1 or even closer. Mastering manual focus does take some practice, and you’ll need to take multiple shots to get one that’s sharp, but it’s often necessary for extreme macro. On a DSLR, you’ll use the switch on the side of the lens to turn on manual focus, then you’ll turn the ring around the lens to adjust the focus.
There’s another method for adjusting focus that can work well with close-ups. Instead of continuing to adjust the focus ring, move the camera back and forth slowly until the subject is in focus. Many photographers find it simpler to adjust the distance between the subject instead of refocusing, though whichever method you choose is more preference than necessity.
Keep it simple.
This last tip can be applied to any photograph, but it’s particularly important for macro photography. When you’re getting in close, keep the composition as simple as possible to avoid distracting from your subject. The viewer’s eye should go right to the subject, not something in the background or foreground.
You can adjust your angle or perspective to eliminate any distracting elements. Sometimes, it’s also okay to move items out of the way. Just be sure you’re not destructive. Another option is to use a backdrop, even if you are outdoors. The black side of a large reflector is good for creating a black background, but you can get creative and use other items like blankets or poster board.
Even though macro photography involves photographing tiny subjects, there’s a lot of big problems that can keep you from taking great close-up pictures. But, by battling those known issues with tips like using a tripod and keeping it simple, you can make tiny worlds look big.
Looking to sharpen your photography skills? Join our top-rated professional photography classes today!


