That old adage, “the eyes are the window to the soul?” Well, that’s an essential concept in portrait photography, because the most important element to get right is the eyes. That means the eyes should be sharp. That means the eyes should have a good expression. The first is a matter of using the single point autofocus, the second simply helping your subject relax and feel comfortable.
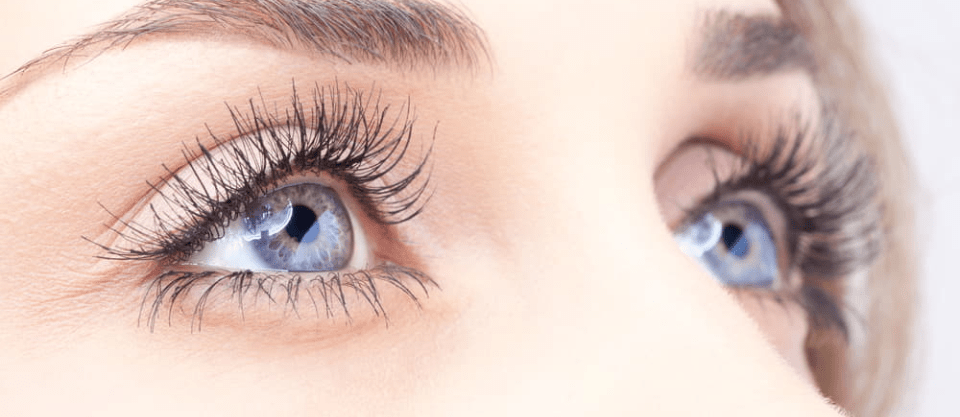
But there’s one more portrait photography tip that can really make or break the eyes in a portrait – a catchlight. What is a catchlight? Well, a catchlight is light that’s reflected in the subject’s eyes. While it’s a simple concept, adding that reflected light gives the eyes depth, and a little sparkle. Adding a catchlight is one simple trick for making your portraits pop, but there’s more than one way to master that one effect.
Method #1: Position your subject so that the main light source is in the front
The simplest way to get catchlights in your subject’s eyes is to make sure the main light source in the photograph is in the front of your subject. It doesn’t have to be directly in front, and in fact a 45 degree angle off to one side or the other often looks the best.
Be careful with positioning the subject with the light source in the front, however. If you’re outside on a sunny day, this placement will make your subject squint and their eyes will appear smaller. While this method works well for window light, many types of indoor light and overcast days, it’s not the best for sunny days.
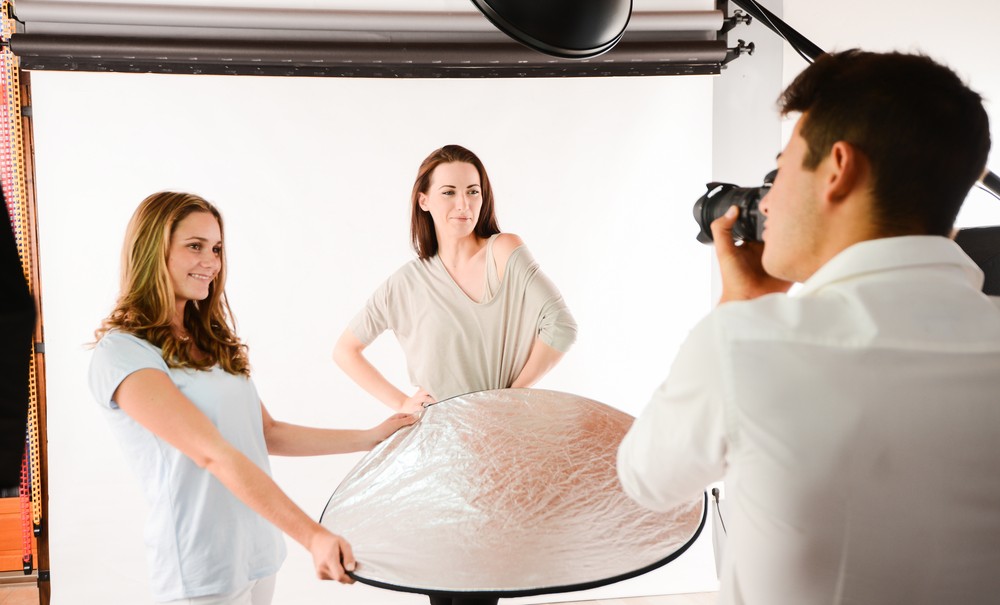 Method #2: Use a reflector
Reflectors are excellent tools in general for lighting up any type of shot, but they work particularly well for creating catchlights. Position the reflector in front of your subject. This works well with backlighting too. Adjust the angle of the reflector, watching how both the catchlight and any shadows change with the different positions.
Using a reflector as a catchlight is where the shape of the reflector comes in. The shape doesn’t really have an impact on how much light is reflected onto a scene. But, the shape of the light source determines the shape of the catchlight. That’s why round reflectors are the most popular for portraits. But, a triangular reflector can make a cool effect as well and a square or rectangular reflector mimics the same type of catchlights you get with using a window as the light source.
 Method #3: Use a flash
Any light source will help create catchlights, including your flash. If the subject is backlit, or you are shooting in the shade and there’s nothing to create those catchlights, a flash can help. If hot shoe flash, you can also fire your flash off camera and experiment with different angles for catchlights as well.
The tricky part of using a flash as a catchlight is that it’s a small light source with an odd shape. Diffusers can help, and softboxes work particularly well as a diffuser for creating catchlights. Not only does the softbox soften the light, it will also change the shape. By using differently shaped softboxes, you can create catchlights with different shapes.
 Method #4: Use studio lights
Any light source can create a catchlight, so of course it’s an important concept for studio lighting as well. Studio strobes, or reflectors with studio lighting, works well for catchlights too. In a studio setting, the photographer has the most control over not only the light and the shadows, but the catchlights too.
With studio strobes, you can adjust the catchlight by changing the angle of the light. Don’t forget about adjusting the light source higher or lower as well as to the left or right. Light modifiers are a big help here too. They’ll change the shape and size of the catchlight as the shape and size of the light changes. A shoot-through umbrella, for example, will create a larger, circular catchlight.
Catchlights: More to consider
Catchlights are essential for making the eyes pop, and they’re simple to make by adding a light source in front of the subject, whether that’s your main light source, a reflector or a flash. Once you’ve experimented a bit and discovered how to create catchlights, there’s a few more things you can consider.
- Lighter coloured eyes are easier to create catchlights with. It’s not impossible to create catchlights with dark coloured, eyes, but catchlights are a bit more noticeable with light coloured eyes.
- The light source can have an impact on the subject’s eye colour. Maybe that sounds crazy, but many eye colours tend to pop under natural lighting instead of artificial indoor lighting. Blue eyes tend to look a deeper blue when lit from the sun or a window, for example.
- The angle of the light source matters. By changing the angle of the light source, you’ll adjust the position of the catchlights. This technique can help you perfect the catchlight, creating that sparkle in the eye just where you want it.
- The shape of the light source determines the shape of the catchlights. Shape matters too. The catchlight will take on the same shape as the light source. Circular reflectors, flash diffusers and shoot-through umbrellas create a more natural-looking rounded catchlight. That doesn’t mean you shouldn’t use other shapes though—you’ll just get a different effect.
Catchlights add depth, personality and sparkle to a portrait subject’s eyes. Without them, portraits can look dull and lifeless. With them, portraits can shine. Head out with a friend and experiment—looking at how changing the light source, the position or the size and shape of the light affects the catchlight. With a bit of practice, you can learn to manipulate the catchlights to get just the effect you were imagining.
Looking to sharpen your photography skills? Join our top-rated professional online photography course today!


