How to Improve Your Food Photography: An In-Depth Guide
Are you a burgeoning food blogger? Perhaps you cover local foodie events. Maybe you’re trying to make your name as a restaurant reviewer. Whatever the case, you’ll need to take pictures of the food you’re covering. Not only will you need to document your meals with pictures, but those pictures have to be good.
Great food photography doesn’t happen by accident. It requires knowledge of the environment in which you’re working, as well as your equipment. What’s more, it means knowing how to get the right shots and really tell a story with the food in the picture. In the following guide, we’ll discuss how to really improve your food photography and take pictures that make your viewers salivate.
No Flash
Let’s start with one of the most basic tips. You should already know this, but we’re going to cover it anyway simply because so many beginners either forget or they never knew. Turn off your flash. You should never, ever use your on-camera flash for food photography. Even if you’re using a smartphone for impromptu food photography, ditch the flash. Why?
When you use a flash, you get lots of things in the picture you didn’t want. Moisture looks like grease thanks to specular highlights. The colours wash out and you’ll also end up with weird shadows on the food, the plate and the table that do nothing to add to the attractiveness of the photo.
Use natural light instead. Position yourself near a window during the daytime. Use the restaurant’s lighting to your advantage at night. Sure, it might mean setting your ISO a little higher, but if you’re using the right camera and lens, you can handle the noise created (and there is software available to help you reduce the amount of noise in your picture, although it will soften the resolution some).
Pay Attention to Light
We discussed light briefly, but it bears further exploration. As any photographer knows, light is the most essential ingredient in capturing any image. It helps to set mood and tone. It expresses emotion. Experiment with different photo lighting and lighting arrangements (particularly when you’re at home).
Try using only light from a nearby window. Try adding in a nearby overhead light that’s not directly above the plate, in conjunction with a couple of sidelights. If you find that there are simply too many shadows, reduce the number of lights (one good source of illumination is generally better than multiples, but play with the arrangement to find what’s right for you).
Bounce the Light
If you’re battling unwanted shadows and trying to use natural light, you can bounce the light off white foam core cards placed nearby (but out of the shot). This offers that soft, natural lighting that you want. Conversely, a black foam core card can absorb excess light and help you achieve the tones you’re after.
Use a Tripod
If you really want to take great photos of food, you need to take a tip from the pros. If you think the pictures in those cooking magazines are all taken with the camera in hand, think again. Use a tripod whenever possible. If you’re trying to take a picture of a meal in a crowded restaurant, you won’t be able to use a tripod, but if you’re in a dedicated photography setting (your studio or your home, for instance), then you can and should use one.
Using a tripod steadies the shot, helps with increased ISO settings and allows you to take vertical shots of the food from directly above. It also allows you to get hands on with the styling of the plate and the place setting without having to worry about setting down your camera.
Water Is Your Friend

If you’re shooting food, then chances are good you’ll eventually be taking pictures of fresh greens and herbs. These delicate edibles must be kept fresh. There are several ways you can do it. Right before the shot, dunk your veggies in water and then shake it off. It’ll revive them perfectly. A mister bottle can be used as well. Some photographers keep herbs and other delicates covered with damp paper towels until it’s time for the shot. Of course, this all supposes that you’re in a controlled environment (like your studio or in a dedicated photo shoot).
Pay Attention to Setting
The food is the star of your show, but you can’t afford to forget about the supporting cast. From the plate to the fork, knife or spoon, the napkin, the tabletop, glasses in the shot and more, the setting is incredibly important. You want to strike a good balance here. Photography props are important, however they can be overwhelming. You want to tell a story with the food, and not let the props overwhelm the photo. Take the time to actually construct the setting the same way a movie director would construct the set. You want just enough to emphasize the food and evoke emotion, but not so much that it all distracts from the subject of the shot.
Work your way up to mastering setting. Start simple – use only a couple of props at first, and then experiment with adding more. Choose your props for the mood they help you create. Taking shots of a luscious Italian dish? Add in some rustic elements that evoke the countryside of Tuscany, or the canals of Venice. Shooting an Asian themed dish? Find props that evoke the nation of origin. Experiment and play around with props enough and you’ll find that you quickly get a handle on creating the ideal setting. Don’t forget to consider how the level of light and shadow (as well as the color of the light) play into the setting as well.
Plating: More Than an Arrangement
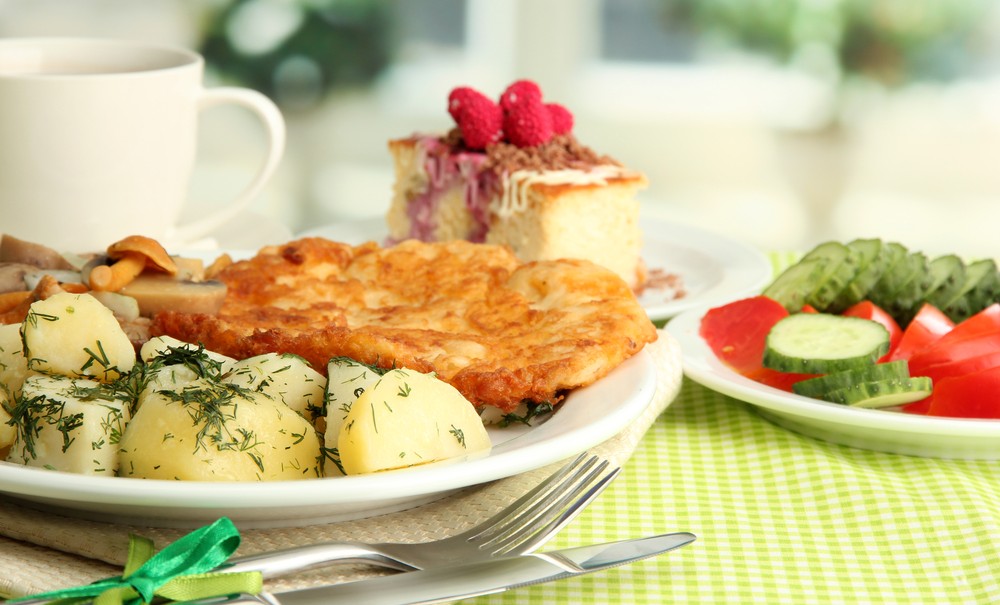
When you think of “plating” in a culinary sense, it’s all about arranging the food to be appealing to the eye and other senses. However, it’s more than that when food photography enters the fray. Pay close attention to the plate you’re using. Bold colors and bright patterns will take away from the main attraction – the food.
In great food photography, you need to ensure that you use a plate that’s understated enough to give the food first billing, but also colorful and interesting enough that the plate isn’t sidelined by the food. Sound like a tall order? It can be. A contrasting colored plate can be a great way to set off the food, while a lighter, cream-colored plate really lets the food take center stage. You can add a bit more visual interest to your food photography with different place settings, tabletops and surfaces.
Cropping
One thing that those new to the world of food photography (and even some seasoned veterans) are afraid to do is to crop the plate. Don’t fear it. Cut it up. Crop it. Reduce it. There’s no need to have the entire plate in the picture, and you’ll find that by cropping it, you help ensure that the food really is the star of the show. By cropping the plate in your food photography, you achieve several things. Obviously, you are able to eliminate distractions. Second, you’re able to put more focus on the color, texture, shape and vibrancy of the food itself. It’s also easier to create stunning food photography that’s not all about the place setting.
Go ahead. Try it. You might be surprised at just how well cropping works with photographing food.
Experiment with Setting
We’ve talked about experimenting with plates,camera placement and lighting, but you should also experiment with the entire setting. Don’t limit yourself to a tabletop or counter. Instead, get creative. Find areas that have a lot of appeal that will add to your photos. For instance, perhaps you have old weathered floorboards that just ooze character. Maybe you’ve got a rustic baker’s rack that would be the ideal backdrop for that plate of cookies or biscuits. Don’t limit yourself to indoors, either. Got a garden? What better place to photograph food like fresh veggies, salads and the like?
Get out and experiment with setting. Use your eye to determine which would make great settings for your shots, and how different lighting might change the photograph. You can even bring in different props to augment your setting. For example, ditch the plate and use a wooden trencher. Ditch those passé glasses and add a couple of medieval-looking chalices. Go wild.
Using Lines and Layers
The old photography technique of building a holistic composition using lines and layers might not seem like a great fit for food photography, but it is. Use different lines and layers to draw the viewer’s eye to the star of the show – your food.
Contrasting lines and built-up layers in your photograph add visual interest without actually taking the focus off the food. To better lead the eye, use lines that lead to the dish in question, as well as layers that add the impression of depth to your shot.
Get to Know Your Lenses
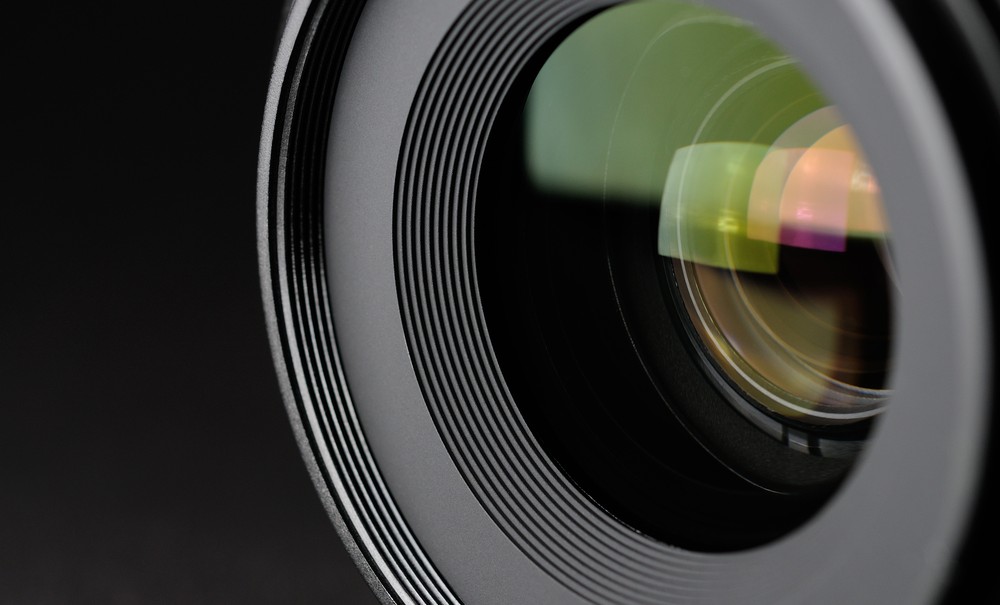
Trying to use the wrong lens in food photography can be a study in frustration. Understand that the wider the lens, the harder it will be to capture just what you want, and not the rest of the scene. Even a basic 35 mm lens can be problematic, leading to serious cropping later on.
If you’re really interested in great food photography, invest in a macro lens for super-close up shots, and then another lens for taking pictures slightly farther away. However, in most instances, a macro lens is really all you’ll need to capture the essence of your food.
Experiment with Angles
Think the only angle you should use is top-down? It’s not. Different angles highlight different aspects of the food, and you should experiment with many different ones. Try a side shot of the food (great for taller things, like cakes), or an oblique angle. It’s really all about experimentation.
You’ll also find that different angles may work better for different settings and for striking specific moods. Add in different heights and you’ll find even more ways to express yourself through food photography. During your experimentation, keep in mind what the photo will ultimately be used for. Will it stand alone? Will it be used in conjunction with text? If so, how much text? Where will it be placed?
Play with Depth of Field
Depth of field is a powerful tool for anyone interested in amazing food photography. It allows you to choose exactly what you want in the shot, and to softly sublimate the rest. For instance, with a shallow depth of field, you could put that soup front and center, while the props are gently blurred in the background, giving the entire piece an almost dreamlike quality.
Know the Story You Want to Tell
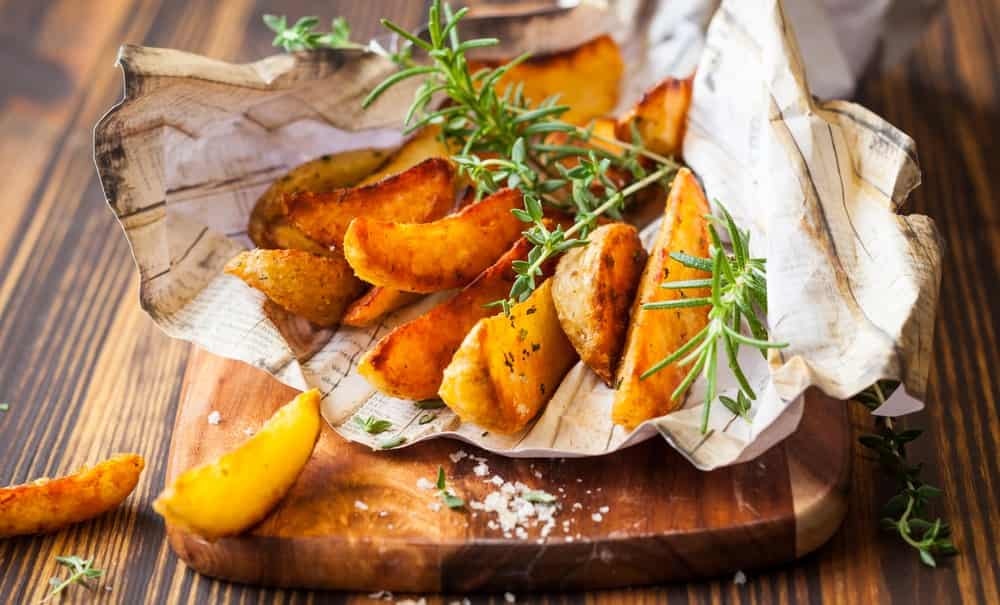
Amazing food photography isn’t necessarily about the food. It’s about the story you want to tell. It’s about creating a specific reaction within your viewers. Yes, you might want to make them hungry. However, you might also want to evoke nostalgia. You might want to evoke the urge to travel, or maybe the hunger for something more exotic (both in food and in life). What story do you want to tell? Know this before you begin, and then build the entire shot for that purpose. Choose your plating, setting, props, lighting and food to ensure that you’re ultimately telling the right story.
In the end, stunning food photography is all about experimentation and being willing to try new things. Be open and curious. Take lots of shots. Don’t be afraid to think outside the box.
Looking to sharpen your photography skills? Join our top-rated professional photography classes today!

