As you cradled your first ever digital SLR (DSLR), you were probably excited. You honestly thought you wouldn’t have to do much thinking anymore and that things would be a breeze!
It’s almost always the same drill, a new camera arrives and a proud owner unboxes it. After charging its battery, they decide to take it for a test run. The test invariably includes taking pictures of things they’ve photographed a dozen times before with their regular point-and-shoot or with their camera phone. All they’re thinking about is how effortless photography would subsequently be. Only, they’re just very much mistaken.
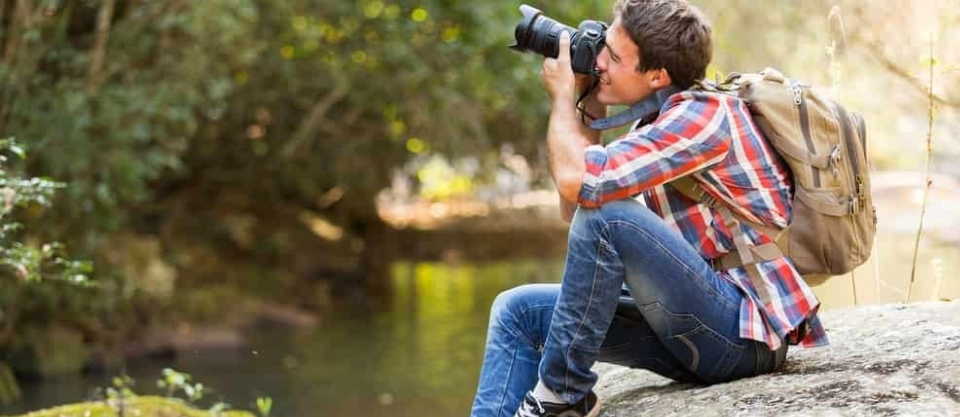
The truth is, the magic isn’t just in the camera itself. Whether you shoot indoors or outdoors, adding “oomph” to your photographs requires something from you. Even a seasoned professional cannot create a true work of art unless they focus on key elements such as exposure, focus and white balance. So, if you’re armed with your DSLR and are looking for something challenging like shooting portraits outdoors, there are certain pointers that can make your experience gratifying. You will also end up capturing some excellent portraits if you stick to these guidelines.
1. Depth of Field in Portrait Photography
In simple terms, depth of field (DoF) is the space in front of and behind a sharply focused subject in a picture. For varying situations, you can have a choice in aperture opening to set your desired sharpness in a photograph. If you choose little sharpness, it is called a shallow DoF. A large DoF is when you aim for everything to appear very sharp. As subjects need to be clearly defined in a portrait and you can sacrifice the focus off other elements, it is best to choose a shallow DoF.

Three main factors influence DoF:
Aperture
At the highest aperture, you will have the lowest DoF – any decrease in aperture will increase your DoF. At f/4, the DoF will be shallower than at f/16.
Lens’ Focal Length
If you have a wide angle lens, meaning it has a short focal length, you will have a large DoF. In other words, using a 20mm lens will give you a greater DoF than making use of a 200mm.
Distance
When you are focusing on distant objects, you have a greater DoF compared to shooting subjects that are up close.
For outdoor portraits, it is best to make use of Aperture Priority mode, which lets you control the aperture while the camera manages the shutter speed. Being able to manipulate your DoF can vastly improve your results. You should also use a lens with a long focal length for great outdoor portraits; anything above 75mm should do the trick. First, they will help narrow your viewing angle and provide a shallow depth of field. Next, they help in the issue of lens distortion. You will be able to shoot a portrait with a good perspective from afar without having to be in your subject’s face.
2. ISO in Portrait Photography
International Standards Organization is the standard scale in the industry for measuring the light sensitivity of a digital camera. The rating of the measurements typically follows ISO numbers between 100 – 1600 and even beyond on more expensive, high-end cameras. The ISO setting provides you flexibility in what kind of exposure you require. When you shoot at a high number, your camera sensor adjusts to being more sensitive towards light. At a lower ISO setting, the sensor is less sensitive towards light. Translation: shooting your outdoor portraits means using a low ISO setting, otherwise you will let in too much light and the picture will appear too bright.

It is important to remember that a higher ISO setting results in “noise”. Given that outdoor portraits mean you are shooting under the brightest source on the planet, you have plenty of natural light to work with. With a good deal of light that makes for great exposure, you should focus on using the ISO 100 setting. You should refrain from going beyond the ISO 200 mark as you would then risk grainy final images with low detail.

3. White Balance in Portrait Photography
The term white balance is oft-used, but seldom understood amongst most photographers. Simply put, white balance makes sure that the colors in your image look like they should – as true to nature as possible. Visible light consists of a color spectrum. Our brain and eyes are naturally inclined to make adjustments for differences in lighting. A camera comes with an Auto White Balance (AWB) feature where it makes required adjustments on its own.
Unfortunately, sometimes things can and do go wrong with AWB. For instance, if the background is bright with sunlight, the camera will adjust to daylight white balance, causing your subject’s skin to have a blue tinge. In case you are shooting among foliage, the AWB ends up displaying magenta hues on the skin.
By making manual changes to your white balance setting, you force your camera to change how it is seeing color. This helps balance the color bias you can experience in your images. Always play around with the white balance setting on your camera before taking a shot. Alternately, it is a good idea to shoot at dawn or dusk, when the light is golden, less harsh and wonderfully warm.
4. Daylight Camera Settings
You would think shooting outside in the sun provides just the right kind of bright light. However, you can face genuine flaws in such lighting conditions also. With the sun sky high, there’s the obvious casting of shadows on a subject’s face: under the nose, the eyes and the chin. Sometimes, if the subject has the sun in their eye, you end up capturing scrunched up features rather than the candid expressions you were hoping for.
Nevertheless, outdoor light can indeed be harnessed for your good. For starters, a simple solution is finding a nice shaded area, perhaps under a tree, for your subject. You can also wait for the sun to get covered by clouds, if there are any. Clouds can naturally diffuse excess light. But, you would need to ensure you get your shots quickly because the light keeps changing.
If the clouds are missing in action, you could just hold up a diffuser between the subject and the sun to achieve similar results. Without spending much money, a simple white cloth can be used as a diffuser.
You can also make use of a reflector when dealing with shadows on your subject’s face. Reflectors can be silver, white or gold depending upon the type of picture lighting effect you require. A simple white reflector will have a subtle lighting effect. A silver reflector reflects a large quantity of regular light. While gold brings about warmth in light that can give your subject a healthy glow.
5. Perfect Portrait Photography Background
In some cases, a photographer is so focused on concentrating on the subject that they end up ignoring the background altogether. This ends up being detrimental when you only see the undesired elements cluttering your background after you review your fantastically shot portrait. For an image to be complete, its background is absolutely critical.
 While we are shooting indoors, backgrounds are still easily manageable. However, when interacting with nature, things take different turn – there are plenty of visual distractions. The colors in the background should be able to complement your subject rather than detract from them. You should also watch out for any objects or shapes that appear to be jutting out from your subject in the background.
 Background objects can help the observer get a sense of a portrait’s location or its meaning. You can use the objects to communicate a story within your portrait: a group of graduates with their university in the background or the wedding alter in the background behind a bride and groom.
6. Shooting in RAW Format
RAW is perhaps the closest to being a negative in digital photography. When you shoot in RAW mode, your sensors compile unmodified data of your shots. Shooting in JPG means having only a shell of the image you intended on capturing as the processor pretty much strips most data away. RAW mode is also able to record brightness at higher levels. Its simple math with JPG capturing in 8bit and RAW allowing for 12-14bit captures.
Since you are shooting portraits outdoors, you will need to make adjustments through editing with your preferred processing software. At post processing stage, edits to JPG result in further loss of data. While RAW format allows for multiple edits before you can save it as a JPG and begin retouching. Imagine the ease of correcting any dramatically under or over exposed images without having to drastically sacrifice quality.
Moreover, on account of its finer tones and colors you are able to achieve better prints from your RAW file.

It’s a Wrap
If you are starting off as a portrait photographer or you are just seeking to enhance your portrait skills, the above six trade secrets can help you go a long way. While these pointers are basic, most photographers generally overlook their importance and end up sacrificing any improvements they could make to their current work. If you take note of these and apply them while practicing or shooting photographs, you are guaranteed to have professional-quality results.
Looking to sharpen your photography skills? Join our top-rated professional diploma in photography today!


