What makes acrylic paint unique, why is it popular among modern artists, and how do you go about using it? If you have ever wondered about these questions, you come to the right place. Understanding the intricacies of any paint medium is an essential part of the artist’s journey since it will allow you to maximise the potential of the medium and produce some amazing paintings. Getting comfortable with any art medium is a journey, so why not start with acrylics? Here is your comprehensive guide to painting with acrylics.
What is acrylic paint?
Acrylic paint is a modern type of paint used by artists since the 1950s. It is unique because it uses a synthetic resin to hold its colour, meaning that it is water-soluble. Its synthetic nature means it is highly elastic, which stops it from cracking once dried. It is also relatively thick and comes in a large variety of colours.
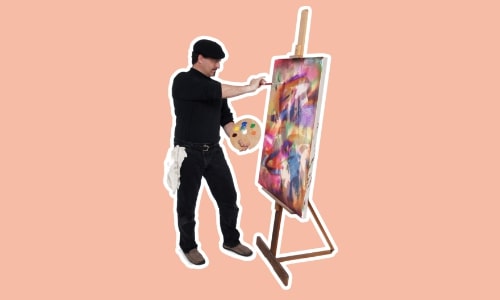
Learn Painting Online
Master essential painting skills, from still life to landscape and portrait painting, and create your own works of art.
Acrylic vs Oil paint
The main advantage of acrylic paint is its ease of use since it is water-based. This means that it dries quickly, allowing artists to work spontaneously and speedily. Being water-based also makes it easy to dilute when applying thin washes, since water is freely available and does not have a strong smell. It is also easy to clean off brushes, making the whole painting process a lot simpler. Acrylic paint can therefore be used with confidence in settings such as the outdoors, where artists need to capture a scene quickly. Acrylic paint is also cheaper than oil paint, making it an affordable, less intimidating option.
For many, acrylic paint is an efficient and affordable option that gives them a high-quality result. Technically speaking, however, it lacks the colour intensity of oil paint. This is due to the larger particle size of its vehicle (synthetic resin), which has less space for colour particles or pigment. Oil paint also retains its glossy texture once dried, whereas acrylic paint loses a bit of its shine. Lastly, oil paint has a thicker body, which suits those going for a thick, painterly style.
That being said, high-quality acrylic paint can produce some excellent results and the process is extremely straightforward.
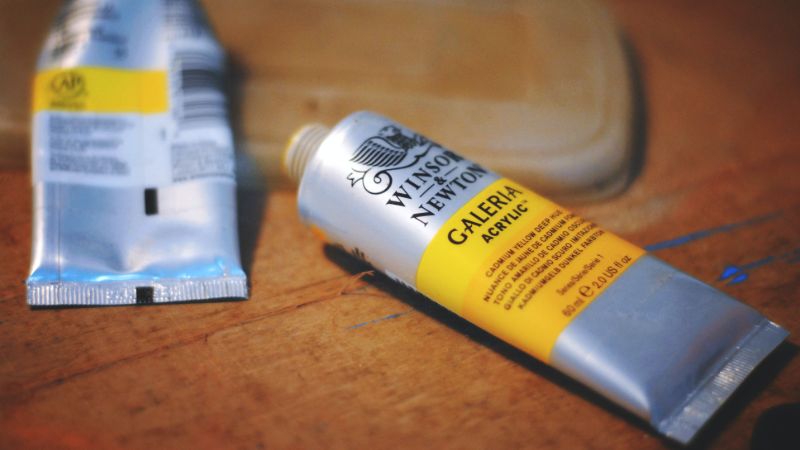
The best acrylic paint to buy
You can’t go wrong buying artist’s grade acrylic paint from a well-known brand. Artist-grade paints are high-quality acrylic paints. I recommend buying a 200ml tube of white and 75ml tubes in a variety of colours. These should include your primary colours of red, yellow, and blue as well as secondary and tertiary colours. Remember to buy a warm and cool version of each primary colour. For example, ultramarine blue is a warm blue (it has a purple undertone) and phthalo blue is a cool blue (it has a green undertone). Tertiary colours that are good for creating a neutral or natural-looking colour mix include raw umber and Payne’s grey.
Some well-known, international, reputable brands include:
- Winsor & Newton Professional Acrylics
- Liquitex Heavy Body Artist Acrylic Paint
- Castle Art Supplies Acrylic Paints
- Chroma Atelier Interactive Artists' Acrylics
- Grumbacher Acrylic Paints
- Blick Artists’ Acrylic
- M. Graham Artists' Acrylics
How to thin acrylic paint
When painting with acrylics, you’ll occasionally need to thin the paint out in order to achieve certain effects. Here’s what you need to do.
Firstly, consider whether the surface is absorbent or non-absorbent. A non-absorbent surface would include primed canvas. Here, the recommended ratio of water for thinning down is about 30%, as the water cannot be absorbed into the primed surface. Adding more than 30% of water will result in a drop of colour quality, as the water will take up too much of the surface layer.
An absorbent surface would include unprimed wood, canvas, or paper. With this surface, you can add any ration of water, as the surface will absorb any excess water and will only affect the dispersion of paint, not the colour quality.
There are two basic options to use for thinning down acrylic paint: water and acrylic medium. Water is free and is a popular choice. Too much water however will affect the colour quality of your paint. Acrylic medium, while pricier, maintains the colour quality while thinning down your paint.
Acrylic painting techniques
Acrylic paint is perhaps the best medium to experiment with different techniques, due to its ease of use and quick drying time. Each of the following techniques will produce a completely different effect or style, so why not give them a try?
Acrylic wash
Creating a wash means thinning your paint with water, which allows for greater transparency and spread. This is a fast way to work in the earlier stages of a painting when little detail is required. It also dilutes the intensity of the paint, allowing you to experiment without the worry of dark lines. Use the above instructions to thin your paint for this method.
Blocking in
This technique refers to the creation of generalised, large blocks of colour. This is used in the beginning stages of a painting to establish the basic tonal range and colours of a painting.
Dry brush or scumbling
Using a dry brush technique means adding little or no water to your brush while you paint. This is generally used to create a blurred, hazy effect since the paint needs to be rubbed onto the canvas in a generalised way. This technique is perfect for painting anything atmospheric or textured, such as clouds or landscapes.
WATCH: How to paint clouds using the wash, blocking in, and scumbling techniques
Wet-on-dry
This technique is commonly used for smoothly blending or transitioning between two colours. The bottom layer should be dry so that it doesn’t mix, and the top layer should be diluted with water, allowing the colour of the bottom layer to shine through. This produces a soft, gradual and glowing effect that is perfect for painting skin or clothes.
Wet-on-wet
This technique describes the use of undiluted, wet paint on top of another layer that is still wet. This is usually done at the end of a painting when the painter wants to add bold strokes of undiluted colour. This technique can easily get messy, so watch out! If used correctly, however, it can create a bold, expressive feeling. It can also help an object to appear more solid and noticeable.
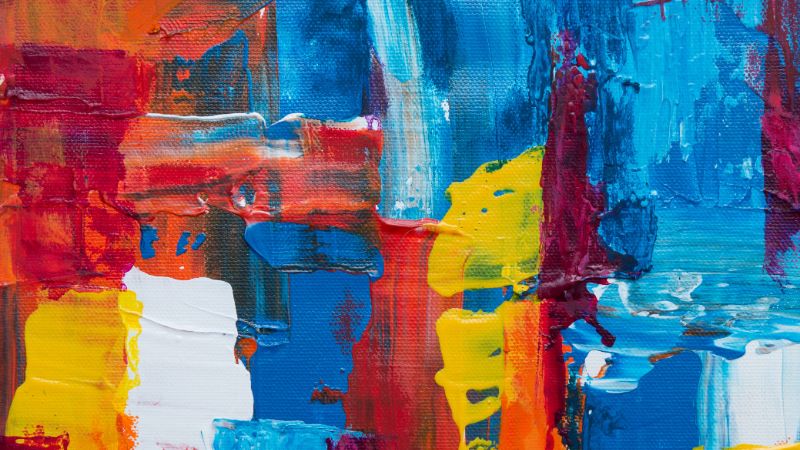
Impasto
Impasto is similar to wet-on-wet, except that it refers only to the thick application of paint, such as palette knife painting. A palette knife can be used to smear on thick wedges of paint, creating a harsh, rough texture. The thick, undiluted paint creates a bold, colourful, and expressive effect. A thickener gel can be mixed with acrylic paint to give it an impasto effect that is comparable to oil paint.
Impressionist
This technique was invented by the 19th-century movement of Impressionism, typified by the style of Monet and Renoir. It refers to marks of pure colour without blending or mixing on the canvas. This creates a dazzling optical effect. Techniques similar to this include pointillism or stippling.
Smudging
Smudging refers to rubbing paint with the help of a soft, slightly porous tool, such as a cloth or even your hand. This creates a soft, atmospheric effect.
Smearing
Smearing refers to the spreading of wet paint over a surface, usually with a large, non-porous tool such as a grout spreader or ruler. This produces an abstract, textured effect.
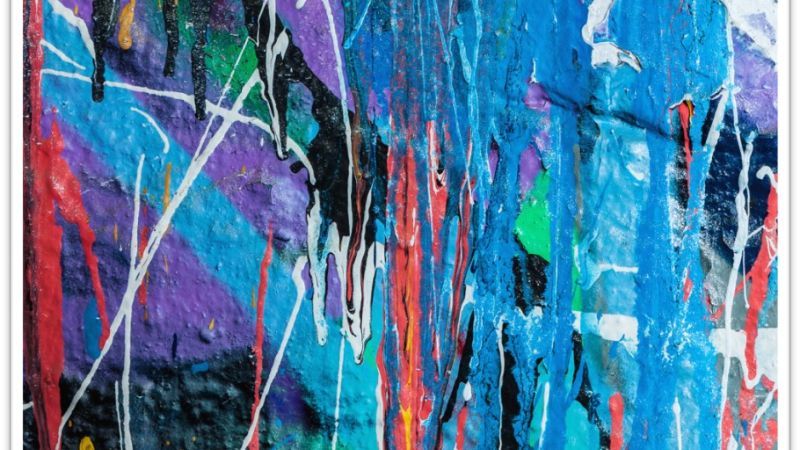
Splattering and dripping
Splattering refers to the technique of flinging paint onto a canvas without the brush touching the canvas. To achieve this effect, it is best to dilute your paint so that it runs off the brush more easily. Dripping refers to dripping diluted paint onto a canvas without the flinging action of splattering. Both techniques produce a wild, expressive effect that is associated with abstract painting.
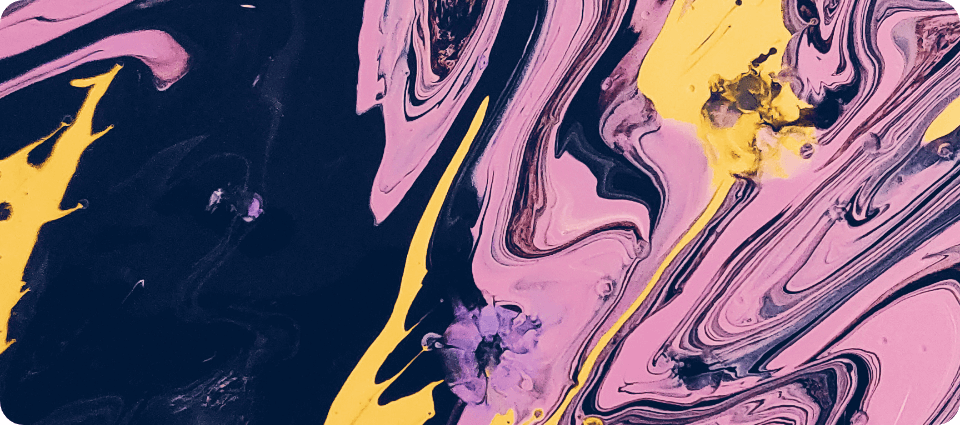
Pouring
Pouring refers to the technique of pouring paint, usually onto an unprimed canvas. This allows the paint to bleed or spread easily, creating soft atmospheric transitions of colour.
Sgraffito
This technique is achieved by scratching into the top layer of a painting, revealing the layers of paint beneath. It is best achieved with a metallic object such as a palette knife or carving tool. This technique creates a linear, drawn, or textured effect.
Hard-edge
A hard-edge effect can be created by using a clean outline or masking tape. Movements that used a clean, hard edge effect include Minimalism and De Stijl.
Encaustic
This is an ancient technique that refers to the mixing of colour pigments with hot wax. Once the wax cools, metal tools can be used to scrape or sculpt the surface. This technique creates a highly textured, expressive effect.
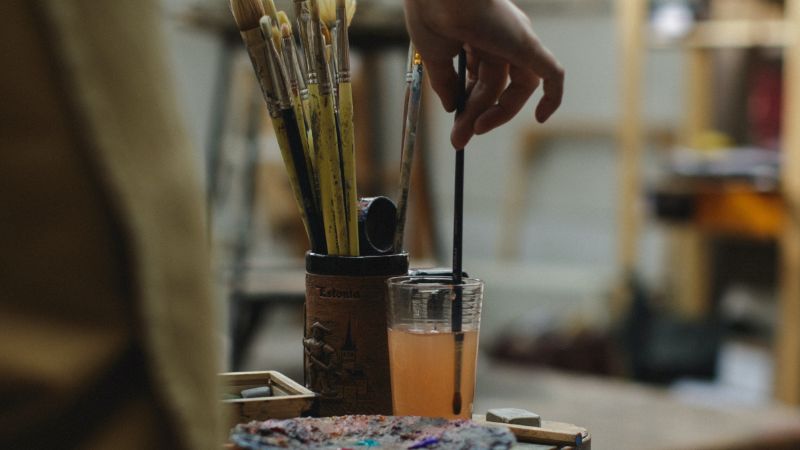
Types of acrylic painting brushes
Below are some of the main kinds of brushes you may need in acrylic painting. Other brush shapes include rigger, mop, fan, and angle brushes: these produce specific effects and can be considered optional extras.
Filbert brush
This is a general-purpose brush that can be used for a wide variety of techniques. It has a large head with rounded edges, making it perfect for painting large areas of colour as well as creating organic lines or soft effects.
Flat brush
This brush has a large head with square edges. It is good for painting large areas of colour and can be used to create clean, sharp edges.
Round brush
This brush has a round, thin head, sometimes forming a point at the end. This makes it good for creating linework or adding detail.
Bright brush
This brush has a short, wide head with square edges. This is a strong brush that can be used energetically without losing its shape.
Painting tools
There is such a huge variety of painting tools and materials out there that it can seem overwhelming. I recommend starting small, finding something that works for you, and slowly adding to your repertoire as your confidence grows.
Palette
A palette is a rigid surface used for holding and mixing colour. You can use a paper tear-off palette for ease of use.
Easel
An easel is an upright stand used for supporting a painting canvas or board. I recommend an adjustable metal easel.
Palette knife
A palette knife is traditionally used for mixing paint on a palette. Modern painters also use it for applying paint onto the canvas, creating an expressive ‘impasto’ effect.
Other essential tools
You’ll need glass bottles for containing water for thinning down paint or cleaning brushes and cotton rags for cleaning brushes.
Acrylic painting materials
Stretched canvas
This is a canvas that is stretched on a frame. This has a responsive surface and deep sides that look professional and is easy to hang. A recommended specification is a triple primed, 300 gsm cotton canvas.
Canvas panel
This is a canvas that is stretched on a flat, thin wooden panel. This has an unresponsive surface and cannot be easily hung but is an affordable option that is good for small scale experiments.
Paper pads
Paper is generally not suited for acrylic paint as it will warp when exposed to large quantities of water and paint. Thicker high-quality paper such as watercolour paper, however, can be used as an exception. In this case, consider using 300-gram paper as well as taping your paper sheet to a table or board.
Wood
Wood is affordable and can be cut to size or used for large-scale painting. However, it is heavy and has a stiff, unresponsive surface.
How to use acrylic paint on wood
Prepare your surface by using 150 to 200 grit sandpaper to smoothen out any surface inconsistencies and to create grip. If you are using compressed wood, the surface might already be smooth enough to skip sanding. Next, add about two layers of acrylic primer, waiting for each layer to dry before applying the next. Finish by lightly sanding your top layer, creating a smooth surface for painting.
Acrylic paint on fabric
Why not use acrylic paint on clothes instead of canvas? The result can look amazing since it has a hand-drawn, bespoke effect.
Step 1: Use a protective sheet
This will stop your fabric from sticking to the surface you are working on, particularly if it is a porous surface such as wood.
Step 2: Thin down your paint with water
This will give your paint greater flow, which is good for outlines or organic lines. It will also create a soft, translucent effect.
Step 3: Mix your paint with a fabric medium
A fabric medium is a transparent substance that will give your paint a softer, flexible feeling that is more suited to fabric. It will also stop your colours from bleeding and help the paint to adhere to the fabric.
Step: 4: Heat set your painting
Heat setting refers to hot ironing your painted garment, which increases the durability of the paint due to heat fusion. Wait for at least 24 before doing this, as the paint needs to be perfectly dry! Also, remember to set the heat on a low level if your fabric is more delicate.
Step 5: Use a low heat setting when washing
This will ensure your painting lasts longer and that it doesn’t accidentally bleed onto other garments!
How to get acrylic paint out of clothes
Rubbing is not recommended as it will push the paint further into the fabric. Instead, remove excess paint by scraping it off with a knife. Then dab the area with a wet paper towel. If the paint is still noticeable, leave the garment to soak in water or wash it as a separate item in a washing machine. If the paint has already dried on the garment, you can try scraping it off with your nail or a knife.
How to clean acrylic paint from brushes
Because acrylic paint is water-based you can use water to clean it off your brushes. You need to be careful that you don’t damage the shape of the brush head, so try to pull the paint off the end of the brush instead of pushing or scrubbing the brush. You can use a cotton rag or your hand for this. Don’t let your brushes dry upright as this will cause water to seep and damage the head. Instead, let brushes dry horizontally (or upside down if you can!).
If you make the unfortunate mistake of forgetting to wash the brushes before the paint dries, don’t panic! It is possible to clean dry acrylic paint from your brushes most of the time: it just takes a little longer. You’ll need to soak the brushes for five minutes in rubbing alcohol, also known as isopropyl alcohol, and then gently massage the paint out of the bristles with warm soapy water. You may need to repeat this process a few times. Try not to do this too often, though, as it can damage the brushes. In severe cases where the paint was particularly thick and dried completely, you may have to cut your losses and replace the brush. Keep jars of water nearby when you paint, and pop them straight in when you are not using them to avoid this.
How long does acrylic paint take to dry?
The general drying time is about 20 to 30 minutes, with higher quality paints taking slightly longer to dry. The process can be elongated by using an acrylic retarder medium. Remember that local conditions will also affect the drying process, for example, hot and dry conditions will speed up the drying process. If you are in a rush to dry your painting, try placing it next to a fan.
Is acrylic paint toxic?
Standard acrylic paint is not toxic. Acrylic paint is water-based, which means that it doesn’t require any chemicals for cleaning. If accidentally eaten, it might cause an upset stomach, but nothing more serious than that.
Want to learn more about acrylic painting?
Upskillist online painting course will teach you all you need to know about acrylic painting. You’ll also learn about colour theory, the elements of art, and a little bit of art history. Throughout the course you’ll create paintings of your own, including a still life, landscape, portrait, and post-modern painting.