Understanding Histograms With Black and White Images
Histogram is something which even most of the “professional” photographers have no clue about. They see a graph at the corner of the screen and ignore it.
Photography is basically, photo-graphy. Photo meaning light, graph meaning data. A histogram is a graphical representation of data captured in an image in the form of light. To understand histograms, we first need to understand pixels.
Pixels
Every image that you see on a screen is composed of very tiny squares which are not visible to the naked eye. These squares of different shades and colours merge when they are placed together on a large empty plane to form an image. It’s like mosaic art where tiles of different colours are placed next to each other to create a picture.
Activity time!
Open an image in Photoshop. Zoom in to the picture at more than 100 %. The keyboard shortcut for zooming in is ctrl + + key on the keyboard. Keep zooming in until you see gridlines appearing on the image. Zoom in even more and you will start to see solid blocks of colour neatly arranged as mosaic.

Learn Photography
Master the fundamentals of photography, from the basics to advanced techniques, and become a professional photographer.

Every block is a pixel. And this is how different blocks of colour stack themselves next to each other to form one big image.
Black and white image
A regular 8 bit black and white image has 255 shades of grey. Yes, that’s over 50.
Imagine the colour white. Now imagine it slowly turning to black in 255 steps, and in each step it keeps getting a little darker; meaning, it has to get darker 255 times so that the white colour, turns black.

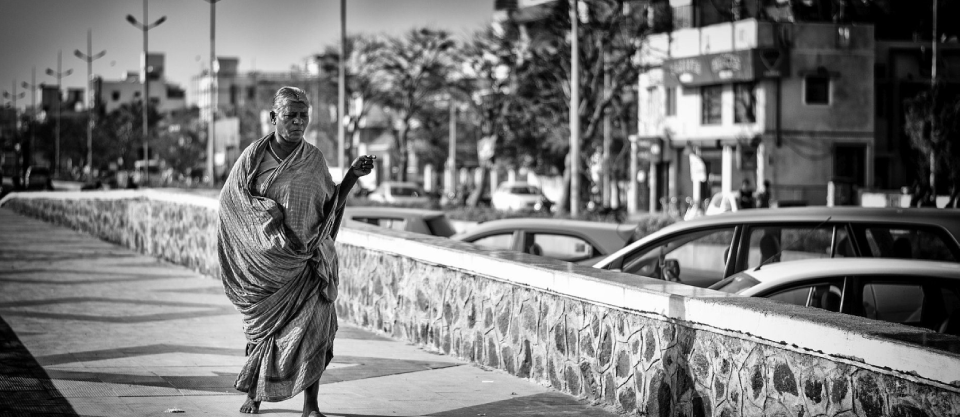
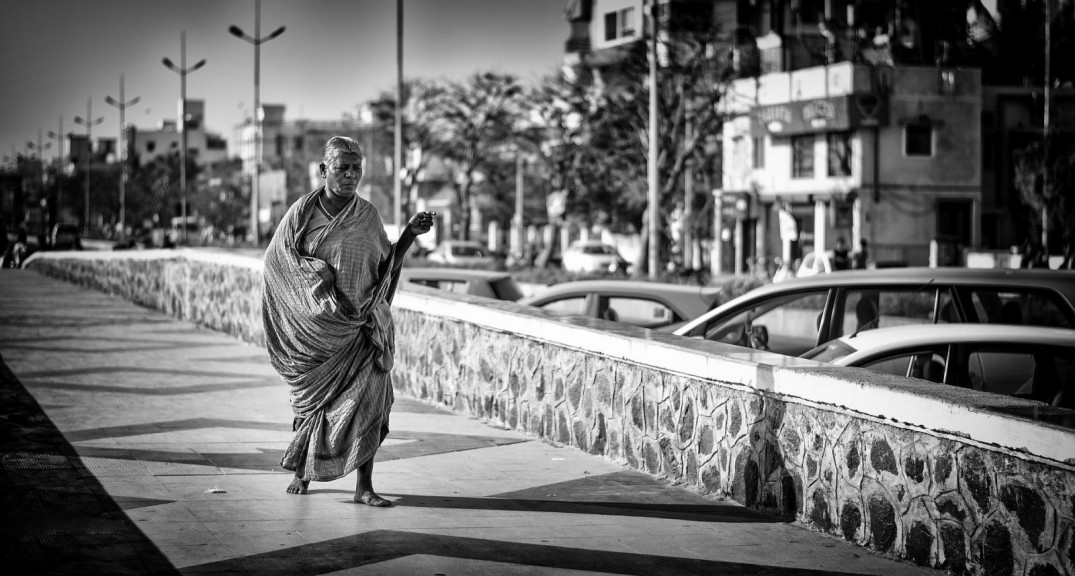
For example, now take this black and white image.

The resolution of this image is 1600X900. That means there are 1,440,000 pixels in this image. Also, the colour of each pixel in this image is one of 255 shades of grey.
Data representation in a histogram
So, what exactly does a histogram show? Take a look at the graph below.

Observe this colour scale where it starts as black on the left and turns white as you slowly move towards right.
A histogram represents blacks, shadows, mid tones, highlights and whites as the graph moves from left to right. Now, do you see the relation between the histogram and the colour scale? Great.

Let’s go back to our example image. The histogram of this image reads like this.
The peaks that you see in this graph represent the number of dots of that particular shade, which is one of those 255 shades of grey. This easily represents the amount of blacks, shadows, mid tones, highlights and whites in your image.
Why do you need a histogram?
Ok, so a histogram is a graphical representation of light in a photography. I am a photographer. Why do I need to get into the math, you ask? Here’s why.
Ever worked on an image on your computer and uploaded the image to your favourite social accounts? Later, when you checked to see any notifications on your image or on your phone or tablet, you noticed that the image is somewhat different from your computer? Have you ever felt that the way you had intensified the shadows or toned down the highlights to bring out more details, it looked completely different when you saw it on another screen? Yes.
Different screens are calibrated differently. The brightness, contrast and the colour tones of your screen may be darker than your phone. You might have bumped up the highlights a bit on your computer to increase the contrast but when you see it on your phone you will see that the highlights are completely blown out. It happens to all of us. That’s where histograms come in.
Let’s say you are working in the dark and have reduced the brightness of the screen and continued with your editing. It looks all good but you see a histogram like this.

See, the peaks on the extreme right of the histogram? This means that there are over blown burnt areas in your image; meaning when you see these on a brighter screen, these areas are going to be brighter than the Christmas tree and will appear as over exposed white spots on your image.
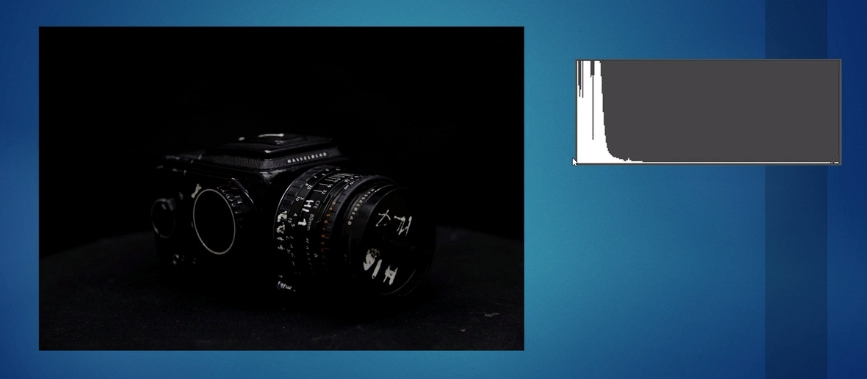
It also swings the other way. Let’s say you are working under bright light and have increased the brightness of your screen. While editing you darken the shadows to suit your editing style. But then, the histogram reads like this.

This means that you have a lot of dark black spots in your image and that the shadows will appear just too dark and black spots without any detail in them.
Therefore, when you see such histograms in your images, you might either want to decrease the highlights a bit or like in the second scenario, increase the brightness of the shadows.
Looking to sharpen your photoshop skills? Join our top-rated professional diploma in photoshop today!


