The Ultimate Guide On How to Photograph Waterfalls

The Ultimate Guide On How to Photograph Waterfalls
Waterfalls make beautiful, eye-catching images, but they also present a challenge to photographers—smoothing out the water with a long exposure during the daytime is quite tricky, but with the right camera settings and a neutral density filter, it’s possible to take photos that make people ask, “How did you do that?”
So, how do the pros pull off beautiful waterfall photography? What’s the secret behind capturing jaw-dropping waterfall pictures? Learn what you need, what camera settings to use and how to troubleshoot common issues in our ultimate guide on how to photograph waterfalls.
How to get started with waterfall photography
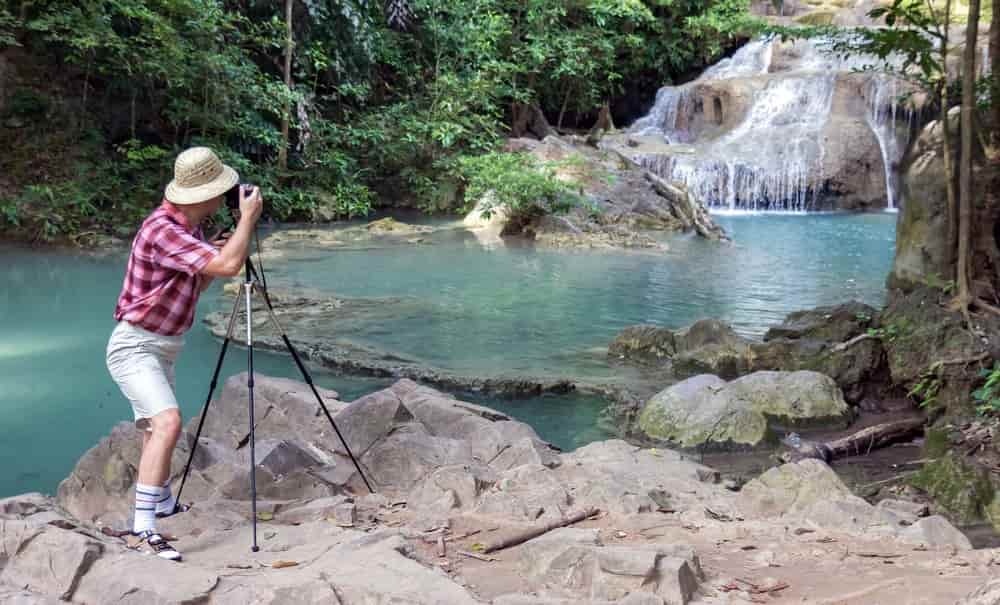
The camera you use is only the beginning of the story when it comes to waterfall photography. Here are four things you need before you head off to the waterfalls.
Learn Photography
Master the fundamentals of photography, from the basics to advanced techniques, and become a professional photographer.
The right lens
A good lens is a must. If the waterfall is easy enough to access and get close to, a wide-angle lens will help capture the entire scene. But if the waterfall is difficult to access and the landscape prevents you from getting too close, a telephoto can come in handy too.
A tripod
If you’re going for that smooth, silky water look, a tripod for your camera is a must. If you try shooting handheld, the slower shutter speed will make your entire image a blur. Even if you prefer the crisp, frozen-in-time look from a faster shutter speed, tripods still help keep the image sharp. Avoid using a cheap, flimsy tripod—even a small gust of wind can introduce shake, so opt for a model that’s well built, with fewer leg sections for even more stability.
Lens filters
For shooting waterfalls in the daylight, you’ll also need the right filters. The best lens filters for photographing waterfalls are polarizing filters and neutral density filters. Polarizing filters help control the reflections off of the water and also can enhance a blue sky. They also darken the image a bit. But often, achieving that long shutter speed when shooting in the daylight requires a neutral density filter, which limits the amount of light coming in so you can use a longer shutter speed without overexposing the image. Neutral density filters often come in kits, with different levels of darkness for the most flexibility.
Pro tip: Once you’ve added your polarizing filter, twist the filter while you watch how the reflections change. This will help you settle on the best position.
Patience and determination
While it’s not something you can find at a camera store, patience comes in handy. Taking the time to find the best composition or waiting for the right weather is necessary for capturing that jaw-dropping photo. Waterfalls can also be tricky to get to, sometimes requiring a bit of a hike with your gear. It’s all worth it for the beautiful shot!
Waterfall photography composition tips
There’s more to capturing the perfect waterfall photo than having the right gear. Composition in photography is one of the most important factors to consider to ensure your shots stand out from the crowd. Here are a few things to consider while you plan and set up your shot.
Choose the right location to set up
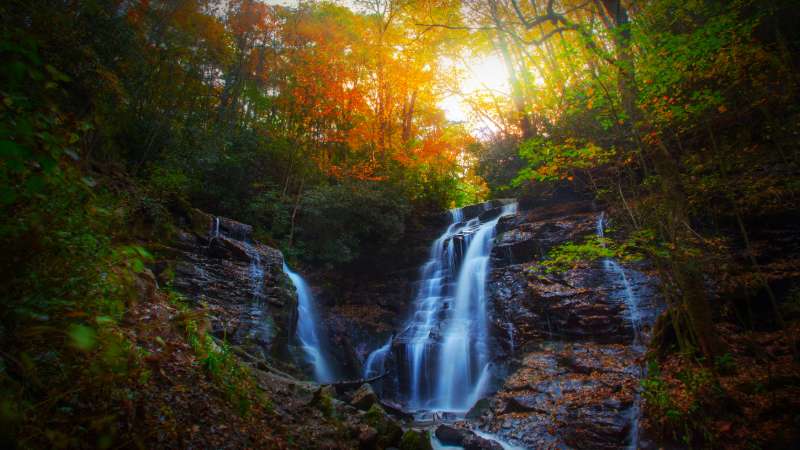
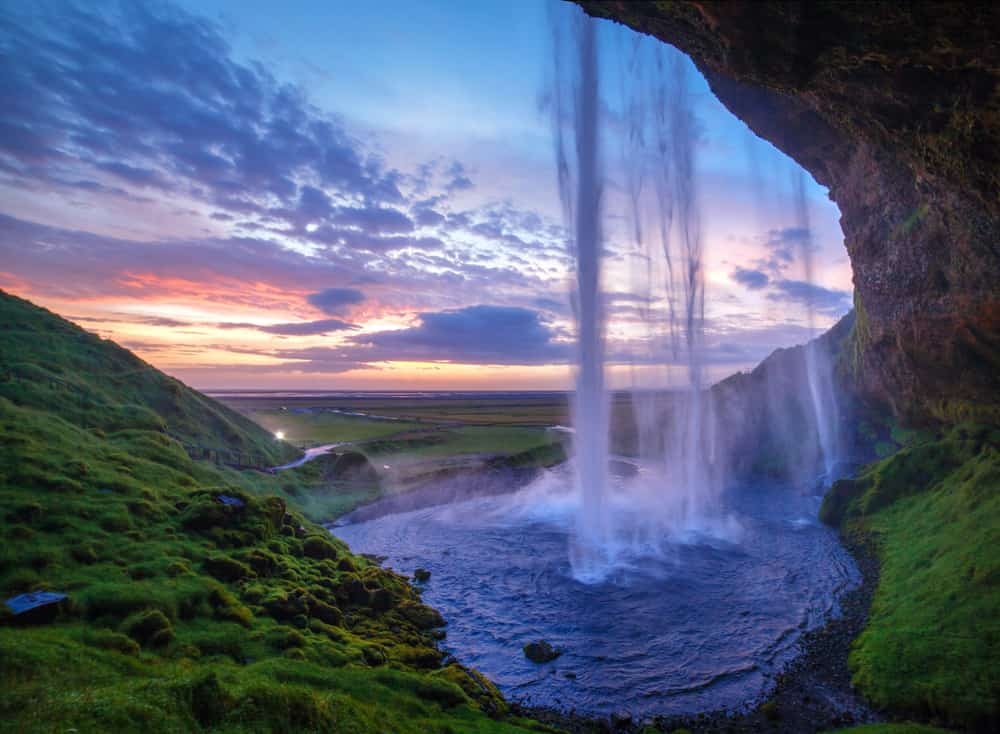
Start scoping out potential compositions as you hike up to the falls. Do you want to stay back a bit and capture the entire view? Or head up close and capture more detail? Consider both options as you choose a location to set up. Keep an eye out for elements that could be included in the foreground, as well as distracting elements that you want eliminated from the frame.
Look for natural lines and shapes
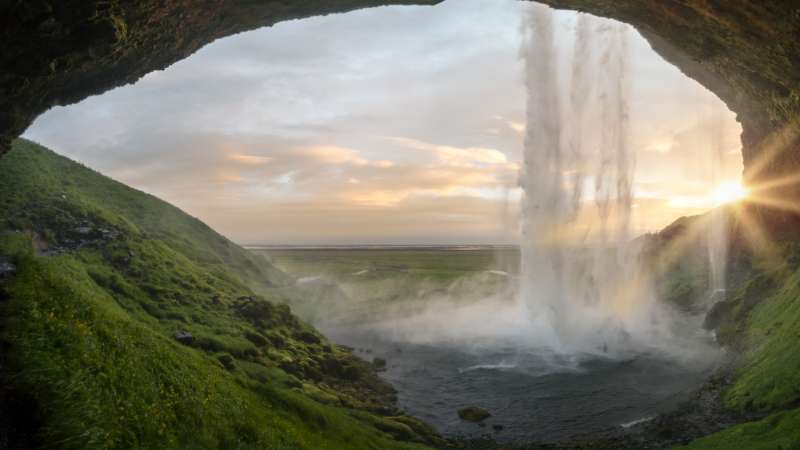
Waterfalls also create natural lines—pay attention to the shape the waterfall makes as you move around it. Looks for lines and curves made by the rushing water, as well as rocks, trees, paths, and other elements around the space. A well-placed curve or line will draw the viewer’s eye into the image and give it a sense of depth and perspective. Scope out different angles—shooting from the side can add interest to a simple waterfall.
Think about what to include in the frame
While both close-ups and wide-angle shots have their place when shooting waterfalls, it can be in your interest to include something static within the frame, like rocks or foliage. This helps to anchor the image, provide contrast, and highlight the sense of motion. While the blurred water can be very eye-catching, it is most effective when there are other objects to frame it. Of course, there are exceptions to this, like every rule.
Waterfall photography camera settings
Once you find an angle and location you like and set up that tripod, it’s time to get your settings configured and snap away. There are no hard and fast rules for the best camera settings for shooting waterfalls—but a few basic tips can help you find the settings that work for your particular scene. Different times of day and different weather conditions will impact what settings achieve the right exposure; you may shoot the same waterfall under different settings depending on the time of day or how cloudy it is. We’ll explain how to shoot a waterfall in manual mode, though beginners could also shoot in shutter priority mode and simply select a shutter speed.
Use RAW mode
The first thing you need to do is switch the file type from JPEG to RAW (or RAW + JPEG) before you start shooting. This makes for more control when it comes to post processing.
ISO for waterfall photography
Since you’ll be using a long exposure, you likely don’t need the camera to be extremely light-sensitive. During the day, keep the ISO setting low (i.e. ISO 100) to prevent noise and to allow for the longer shutter speed. If you’re shooting a waterfall at dusk or dawn or even by moonlight, you may need to bump up the ISO a bit.
Aperture for waterfall photography
Aperture controls how much light is let in, as well as the depth of field. Waterfall photos typically use a narrow aperture (or a large f-stop number) because it keeps more of the scene in sharp focus and also allows for a longer shutter speed when shooting waterfalls in the daylight. Using the narrowest aperture your lens has allows for the most flexibility with shutter speed, and keeps the scene sharp. If you’re shooting at dusk, you can use a wider aperture, though a narrower aperture than f/8 is ideal to keep the scene in focus.
Shutter speed for shooting waterfalls
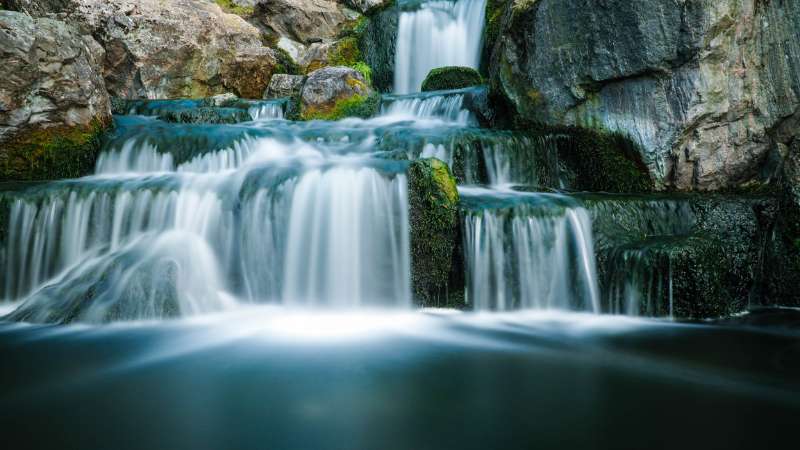
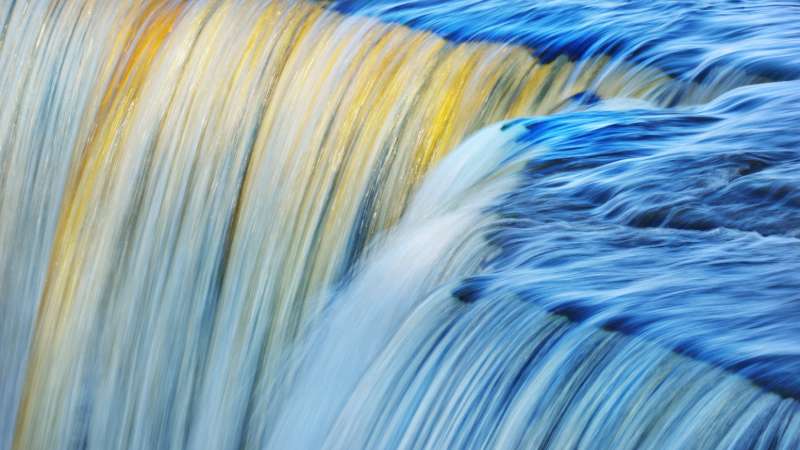
The smooth, silky water effect is captured through a slow shutter speed. Remember, everything that moves while the shutter is open will become a blur—that’s how the cascading water takes on a smooth appearance. While balancing the exposure with the aperture and ISO is important, the right shutter speed is essential for shooting waterfalls.
With your ISO at the lowest and your aperture at the highest, the shutter speed that balances out the exposure should be relatively slow. Use the exposure meter to guide your decision on where to set the shutter speed. Ideally, the shutter speed should be at ¼ or slower. The slower you set it, the more motion blur you’ll capture.
Using a filter for waterfall photography
The biggest challenge when shooting waterfalls is that they’re often shot during the day, but daylight conditions often don’t allow for a slow shutter speed. When your ISO is at the lowest, the aperture at the highest, but you’re still not getting as much blur as you like, filters can be a game-changer.
Of course, if you don’t have filters with you, you could try a different day, with cloudier weather that limits the light. Or, you could shoot at a different time of day, early in the morning or around sunset. But chances are you’ve hiked to the location and coming back isn’t an option.
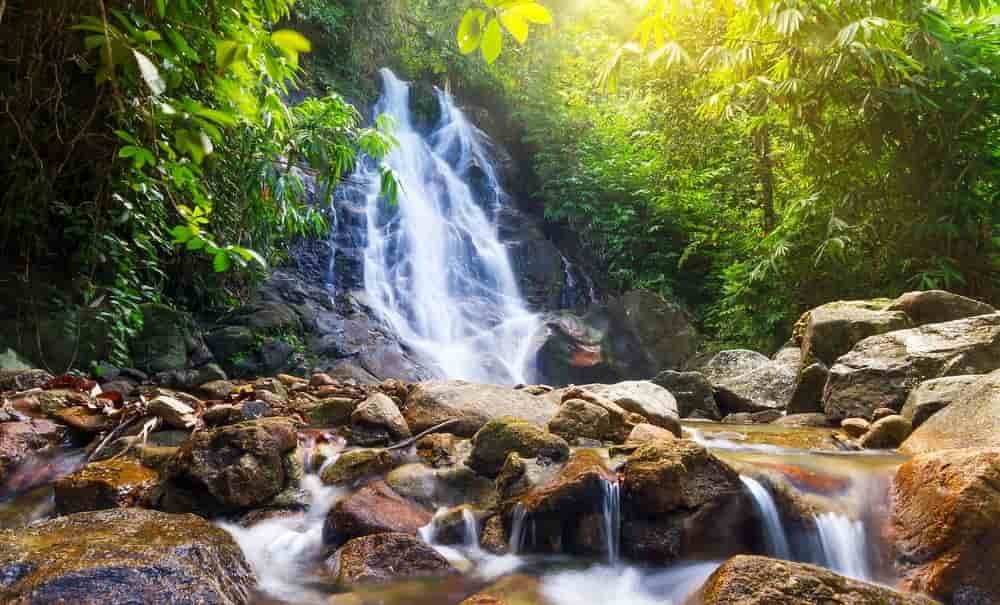
That’s where neutral density filters come in. They block out some of the light, so you can drop down that shutter speed even more, even if it’s bright outside. Neutral density filters come in a variety of different levels. For example, an ND 2 limits the light coming in by one stop, an ND 4 limits the light by two stops. So, an ND 2 filter will allow you to cut your shutter speed in half. The darker the filter, the slower the shutter speed you’ll be able to use. You can add a light ND 2 if you’d just like a bit slower speed, or an ND 8 if you need a drastic reduction.
Some filters can also be stacked together to limit the light even more; just be careful, because circular, screw-on filters will add vignetting to the edges of the image when stacked. The flat neutral density filters that are attached through a holder don’t result in this issue as much when stacked, but they also tend to be a bit pricier.
Post-processing waterfall photography
When shooting in RAW, you have more control over the final image. So, open up that smooth waterfall photo in your favorite image editing program and tweak the RAW file to ensure the exposure, white balance and other factors are perfect. If you overexposed just a bit to get the right shutter speed, the RAW file can be edited back to the proper exposure. If you’re still not happy with the level of blur in the water, the Photoshop blur tool can smooth it out a bit as well.
Want to improve your photography skills?
Upskillist’s online photography course will teach you the creative and technical skills you need to capture images that stand out from the crowd. The first four weeks are free, so you can try it before committing to the full course.
To learn more about how Upskillist can help you click the button below :
Contact Us
Share
![]()
![]()
![]()


