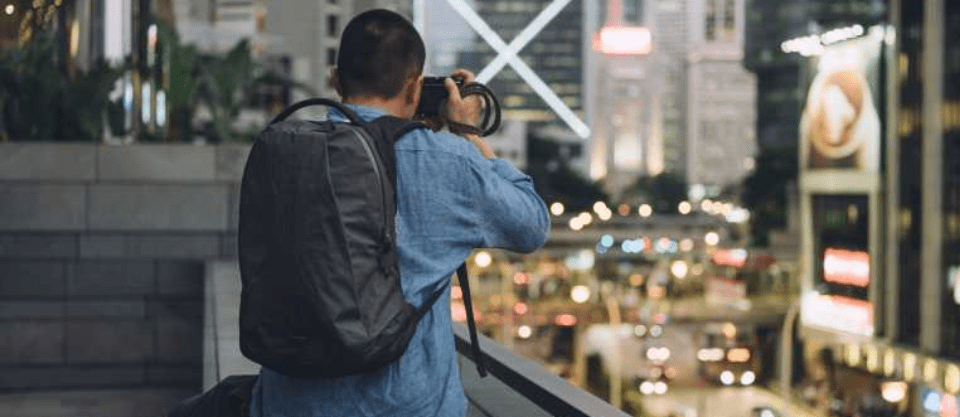
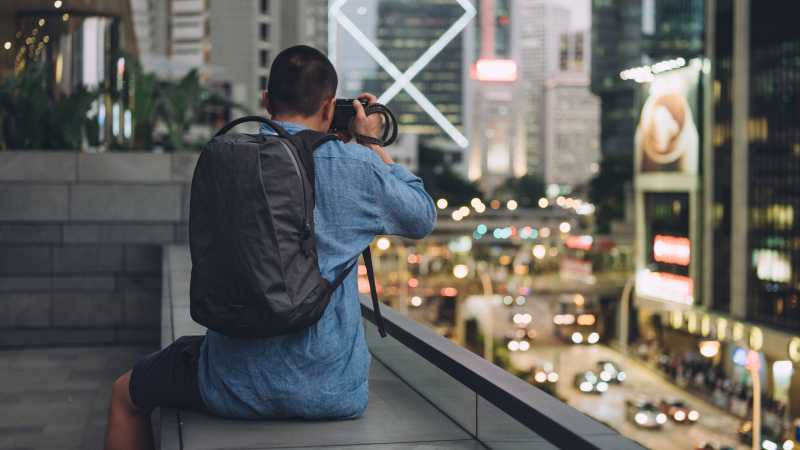
Shooting at night is one of the most enjoyable parts of photography but is also one of the most difficult. Before you start there are a few things to understand and consider.
Recommended for you: Kickstart your photography career with a free 4-week course!
What is needed for night photography?
- ISO
- Tripods
- White balance
- Noise
These four factors will help you to capture better nighttime photos, no matter what your subject is.
ISO
In photography, ISO relates to your camera’s sensitivity to light. In basic terms, ISO is a camera setting that will brighten or darken a photo. As you increase your ISO number, your photos will grow progressively brighter. ISO can help you capture images in darker environments, or be more flexible about your aperture and shutter speed settings. As you increase the ISO, the sensor becomes more sensitive to light, which allows it to capture more light without slowing down the shutter speed or opening your aperture. You should always try to stick to the lowest ISO (base ISO) of your camera, which is typically ISO 100 or 200, whenever you can. If there is plenty of light, you are free to use a low ISO and minimise the appearance of noise as much as possible. However, when shooting at night you will need to raise it.
Tripods
A tripod is a portable three-legged frame or stand used as a platform for supporting the weight and maintaining the stability of some other object. A tripod provides stability against downward forces and horizontal forces and movements about horizontal axes. In photography, a tripod is used to stabilise and elevate a camera, a flash unit, or other photographic equipment. All photographic tripods have three legs and a mounting head to couple with a camera. While you are shooting with your camera on a tripod, likely you may be working in low light conditions or doing long exposures. You would usually shoot at high ISO in order to compensate for slow shutter speed, but that is not necessary while using a tripod.
Learn Photography
Master the fundamentals of photography, from the basics to advanced techniques, and become a professional photographer.
White Balance
White balance (WB) is the process of removing unrealistic colour casts, so that objects which appear white in person are rendered white in your photo. Proper camera white balance must consider the “colour temperature” of a light source, which refers to the relative warmth or coolness of white light.
In light polluted skies, the excess ambient light reflecting off the atmosphere creates a warm glow to the sky, therefore in urban areas a lower (colder) setting around 3,400-3,900K would be more suitable. In darker skies, settings of 4,000+ will yield better results.
Noise
Image noise is random variation of brightness or colour information in images and is usually an aspect of electronic noise. It can be produced by the image sensor and circuitry of a scanner or digital camera. Image noise can also originate in film grain and in the unavoidable shot noise of an ideal photon detector. Image noise originating from within the camera has a few root causes. The three main causes are electricity, heat, and sensor illumination levels. In low light situations where the sensor is being over-volted (ISO being pushed), each pixel has little light wave fluctuation to report before being amplified. Noise looks like tiny coloured pixels or specks in your photograph, and sometimes resembles the grain that you may see in film photography. You will likely notice noise more in photographs taken in low light situations.
Once you understand these four factors of good night photography you have the tools and expertise to capture the shots you want!
How to capture night trails
One of the best ways to enjoy night photography is to capture a long exposure with light moving through the scene. How to do this is relatively straightforward.
You will need a tripod. Turn the camera’s mode dial to ‘manual’ or ‘bulb’ shooting mode and use a slow shutter speed (5-30 seconds) for a longer exposure. Use your camera’s self-timer or a cable release to take the photo with absolutely no blurring. Experiment with different times for different results!
What is light painting?
Light painting is an imaging technique that uses a moving light source to add light to an under-illuminated subject while taking a long-exposure photograph. A scene or object can be brought to life by painting with a single beam of light!
How to create a light painting
- Set your camera mode to either manual or bulb.
- Set the shutter speed to 30 seconds.
- Set the aperture or F-stop to 8 or 10.
- Set the ISO to 100.
- Be sure to choose a location with little light.
- Practice – you will not get it right the first time!
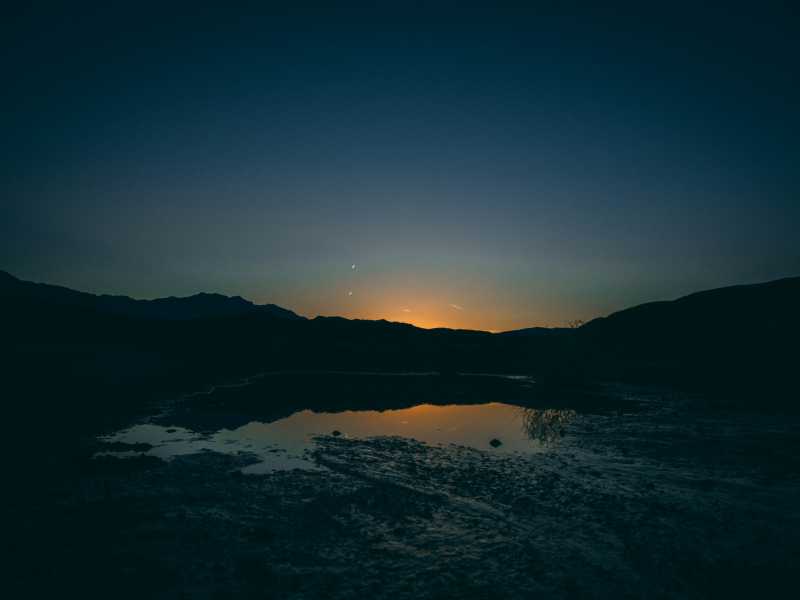
How to capture stars
There are two ways to capture stars: long exposure (light trails) or short exposure (no movement).
The maximum exposure time without noticeable movement is limited to about 15 seconds. In order to capture still stars in focus, you’ll need a clear night with bright shining stars. Use the widest aperture possible, e.g. f/2.8 and set your shutter speed between 15 and 20 seconds. You’ll need to experiment with ISO levels — 100 or 200 ISO is ideal to minimise noise levels, but you may need to push it up a bit to get the exposure you want.
- Set your camera to manual.
- Aperture at f/2.8 (if your lens doesn’t have f/2.8, use the largest aperture available).
- Shutter speed maximum to stop movement of stars.
- Set ISO to 3200.
- Set white balance to Kelvin temperature 3400 to 4400 or as desired.
How to shoot star trails
To capture star trails you will need to set your aperture to f11 – 16 and the ISO to 100 or lower, if possible. You will need to find a location with next to zero light pollution, and you will also need a tripod. Then you will need to set the camera to infinity focus.
Infinity focus is the opposite of a narrow depth of field. Opening your aperture creates a narrower area of focus, which helps you to isolate subjects by keeping foreground and background elements out of focus. Infinity focus is like an extraordinarily wide depth of field. When your lens is focused to infinity, then everything in your frame will be in focus no matter how distant it is to your lens.
Set up your camera, pop it on a tripod, set the ISO to 100, set the lens to infinity focus, find a nice dark area free of light pollution. Using bulb mode and a higher f-stop number aim for as long as an exposure as possible.
Want to learn more? Join our top-rated Diploma in Photography today!


