
Photo manipulation is a completely different subject in itself. It’s somewhere between digital art and photography. It involves photographs, but it also involves a lot of creative thinking and a lot of editing in software like Photoshop.
I fought Po!
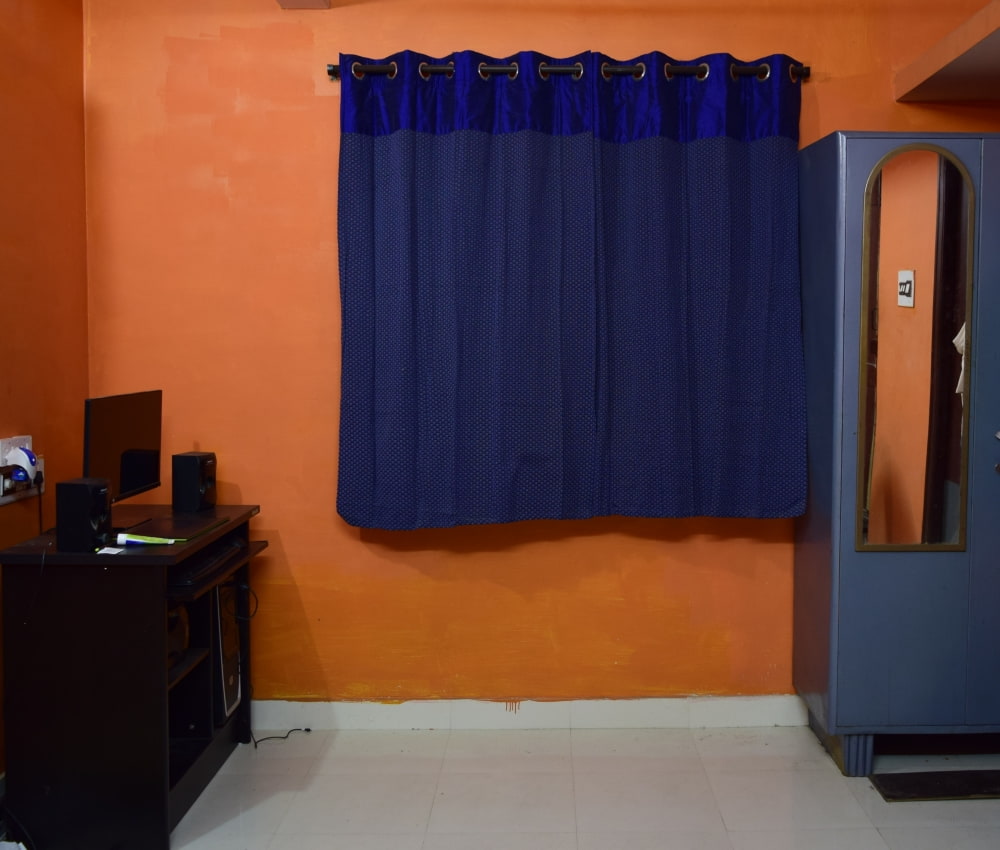
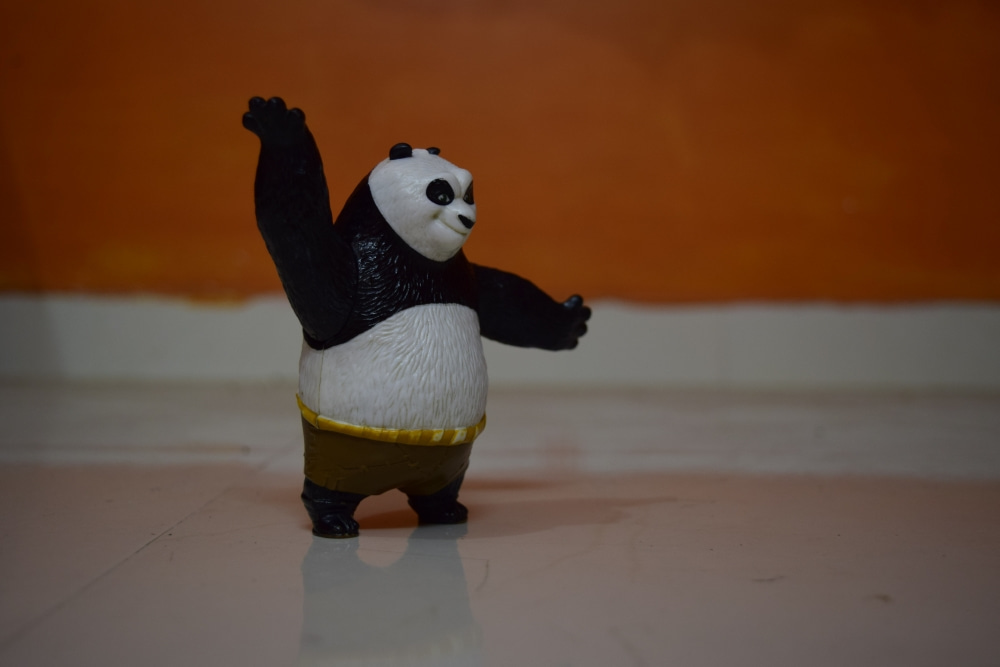
So, we will take these images.

And try to combine them all in Photoshop to form this image.

Looks fun, right? Well, it’s a lot more fun to actually make this in Photoshop. Let’s see how to do it.
Things you will need
- An action figure. Here, I used Po, the Kung-Fu Panda. Why? Because the outline of Po is really simple which makes it easier to cut it out using the pen tool.
- A camera. Just about anything will do.
- A tripod. Really necessary because it will give you a clear idea about lights and shadows. (We will talk about this later)
Shooting
Step 1: Blank scene
The first thing I would recommend shooting is the blank scene. It serves as a blank canvas. If at all any mistakes were made during shooting or editing (you can never be too careful) you will be able to go back to the blank canvas and start afresh.
Compose your scene and position with your tripod. Dial in your settings and click your blank scene.
Step 2: Bring in the model
In this case, it will be yours truly. Without changing the settings on the camera, I will just set the self-timer. After pressing the shutter release button, I will use the self-timer delay to take position in front of the camera. Then I get this picture.

Step 3: Bring in the action figure
This is the tricky part. Now, the action figure is very small compared to me. That means I will have to get closer to take its picture and risk changing the light conditions.
To minimize that risk, I place the action figure on a spot that’s opposite to where I was standing (see step 2). Then I removed the camera from the tripod, took it in my hand, lay down on the floor to get in level with the action figure and shot the picture.
So, we have our images to compose our scene. Let’s bring them all together in Photoshop.
Workflow
In Photo manipulation, every scene you try to create is unique and the workflow followed is unique. You will actually have to go through multiple photo manipulation tutorials to get a clear understanding of how things work in photo manipulation.
In this workflow we will only discuss about how I got this done. In future, I shall do more such manipulations and share their workflow with you so that you can start making your own manipulations and create your own workflow.
- Open all your images in Photoshop. If you have shot in RAW constrain yourself to very minor adjustments. Since there is a difference between the light conditions and shooting of the action figure you will not be able to sync your editing with the images of the model and the blank scene. This will make your workflow even more difficult.
- Use the pen tool to cut out the model and the action figure from their pictures. Trace the path around the contours of the model and the action figure with the pen tool and make a selection.

Now press ctrl + X on (command + x on mac) to make your cut out. Press ctrl + V to paste the cut out on a new layer.


-
Copy the cut out layers from their files and paste them on blank scene.

- You will notice that this doesn’t seem right and in the first glance, it gives away as something fake and manipulated. Let’s fix that problem.
- Select the blank layer from the layers’ panel. Add a blank layer on top of it and change the layer mode of this layer to multiply.
- Select black as the foreground colour.
-
With soft round brush at about 30% opacity, start painting on the blank multiply and draw the shadows.

-
If you look at the image in step 2 of shooting, you will notice sharp edged shadows by the feet. To create use a hard brush and paint in shadows on a blank layer in multiply mode.

- Complete your image with what ever finishing touches you like. For this image, I added a vignette and did a bit of tonal contrast adjustment in nik colour efex. Also, crop it a bit to get a proper composition.
-
Now, save your image and your PSD file.
Quite simple isn’t it. There are a lot more complicated manipulations and the steps involved are more advanced in terms of Photoshop. But we will learn all that in good time. For now, practice making cut outs with pen tool and making composites. We will take things up step-by-step in future posts.
Looking to sharpen your graphic designing skills?Join our top-rated Professional Photoshop Course today!


