10 Photography Lighting Facts You Should Know
If you’ve handled the camera in manual settings, you’ll realize that the lighting plays a significant role in determining the aperture, shutter speed, and ISO settings. The light source, positioning of the object, and the desired output will all be determined by the photography lighting conditions during the time.
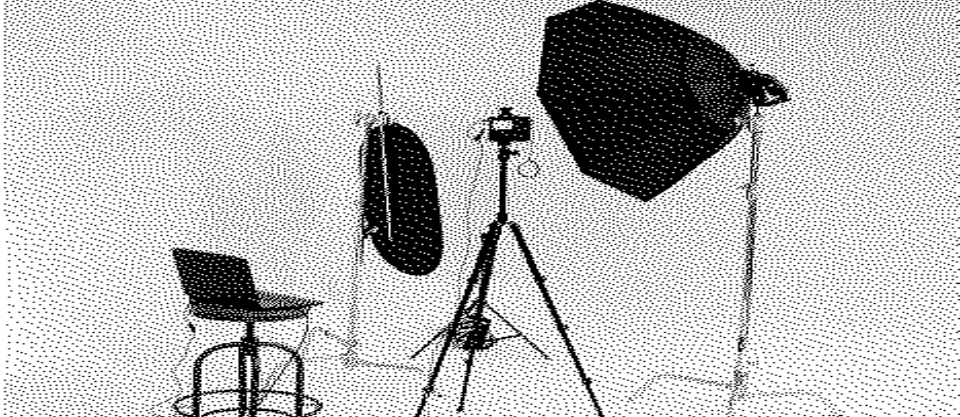
Although a photography lighting setup seems fairly easy and trivial, it can be a tricky business, especially if you are working on portraits, landscapes, and macro photography. To get you acquainted with lighting and make the most of natural and artificial lighting, here are the top 10 photography lighting facts that’ll help you get the best photographs in any condition:
Light Has a Colour
Although this statement might sound unscientific, light does have a colour, which is defined as the colour temperature in photography. Colour temperature is something that our eyes and brains are adept to adjusting, so we hardly ever notice it. However, digital sensors and cameras may need manual adjustments depending on the light situation. For example, early morning and late afternoon sunlight have warm undertones, while mid-day can be slightly bluish. This is also true for artificial lighting, as different light bulbs can throw off different shades while the surface that is used to bounce the light can also add its colour.
For digital cameras, use photography lighting techniques to control white-balance and neutralize colour casts, depending on the tone.
Front Lighting Minimizes Shadows
When clicking portraits, photography lighting can play a key role, and if you are looking to capture a photo with minimal shadows, use front lighting to your advantage. Using a flash or a strobe, focus the front lighting directly on the subject’s face. This will minimize shadows and also texture.
Front Lighting De-Emphasises Texture
Although front lighting is great for shadowless portraits, it can appear quite flat, since there isn’t the three-dimensional drama that shadows tend to add. To get the perfect shadow and add some texture, use front lighting to remove textures from the subject. This can be achieved by keeping the light source on the same axis as the lens.
This style is great for capturing photographs of older subjects, as it suppresses wrinkles and helps to hide age.
Side Lighting Adds Drama
While avoiding shadows and textures is great for some images, using shadows can add depth and dimension to the photographs that are great for creative pictures. When using light from the side, it adds long shadows that are popular for lighting landscapes, and can also be used for portraits with a more artistic touch. Photography lighting that uses side lighting provides a visual impact, and photographers should place the subject to ensure the side that is being captured is highlighted to give a three-dimensional look.
Light Falloff Helps Define the Background
In photography lighting, light falloff can be used to vary the relationship between the subject and the background. The distance of the light source impacts the brightness of not just the subject but also the background. If a light source is placed close to the subject, the falloff from the subject to the background will be more pronounced, while the background gets relatively brighter as the light is moved further from the subject.
Backlighting Defines Shapes
When a portrait lighting is backlit, the light source comes from behind the subject, and the light is directly falling on your camera. Although this is normally not recommended when taking portraits, it will help create a silhouette which is used often for creative imagery. This type of photography lighting reduces the detail of the subject, but brings out the shape, giving it a mysterious touch.
Using the varying effect of the silhouette, photographers can expose a brighter part of the light source to get a darker silhouette or try and use another light source to shower light on the subject and get a slightly brighter silhouette.
Distance Makes Lighting Dimmer
In any photography lighting, the distance of the subject from the light source will make a difference on the end result; the farther the subject is from the light source, the dimmer the lighting will be. This can be used effectively to create an image with greater shadows and add an element of mystery.
Broader the Light Source, Softer the Light
A broad light source lessens shadows, reduces contrast, and suppresses texture. The narrower the lighting source, the harder the light will be.
The broad light source will create multiple illuminations to the scene and fill in the shadows to give a unique touch to the photograph. This photography lighting technique will not require any studio lights – it can be implemented by positioning the subject near a large light source like a bright sunlight window or a hard light source to create the effect.
Bounced Light Is Better Than Direct Light
This will indirectly translate to how hard light and soft light is used in photography lighting techniques. To diffuse intense light on the subject, photographers can bounce it off another surface to reach the scene, enabling a unique photograph that is dreamy yet very eye-catching. This can be done using portrait lighting with a flashlight or using a reflector or surface to diffuse and aim the flash on the subject, resulting in intense and harsh light. You can bounce photo light by using natural and artificial lighting.
Shadows Create Depth
As noted previously, sidelights and backlight are often a photography lighting technique used to produce more dramatic images by the inclusion of shadows. By using soft light, the shadow can add depth to the image; be it portraits, landscapes, or anything in between to give them a visual impact. Soft lighting from behind, the side, or from above can give a dramatic effect to your images and can be quite pleasing if used properly.
Conclusion
If you want to take your photography skills to the next level, explore the Online Photography Course at Upskillist to master the camera and go from beginner to pro in just four weeks. The course will cover not just photography lighting techniques and studio lights, but also help photographers master camera settings, camera flash, landscapes and portraits, and understand the various genres and its ideal settings


